|  |
| *Visualization of the above\_cart\_steps\_banner in a /cart page* |
| 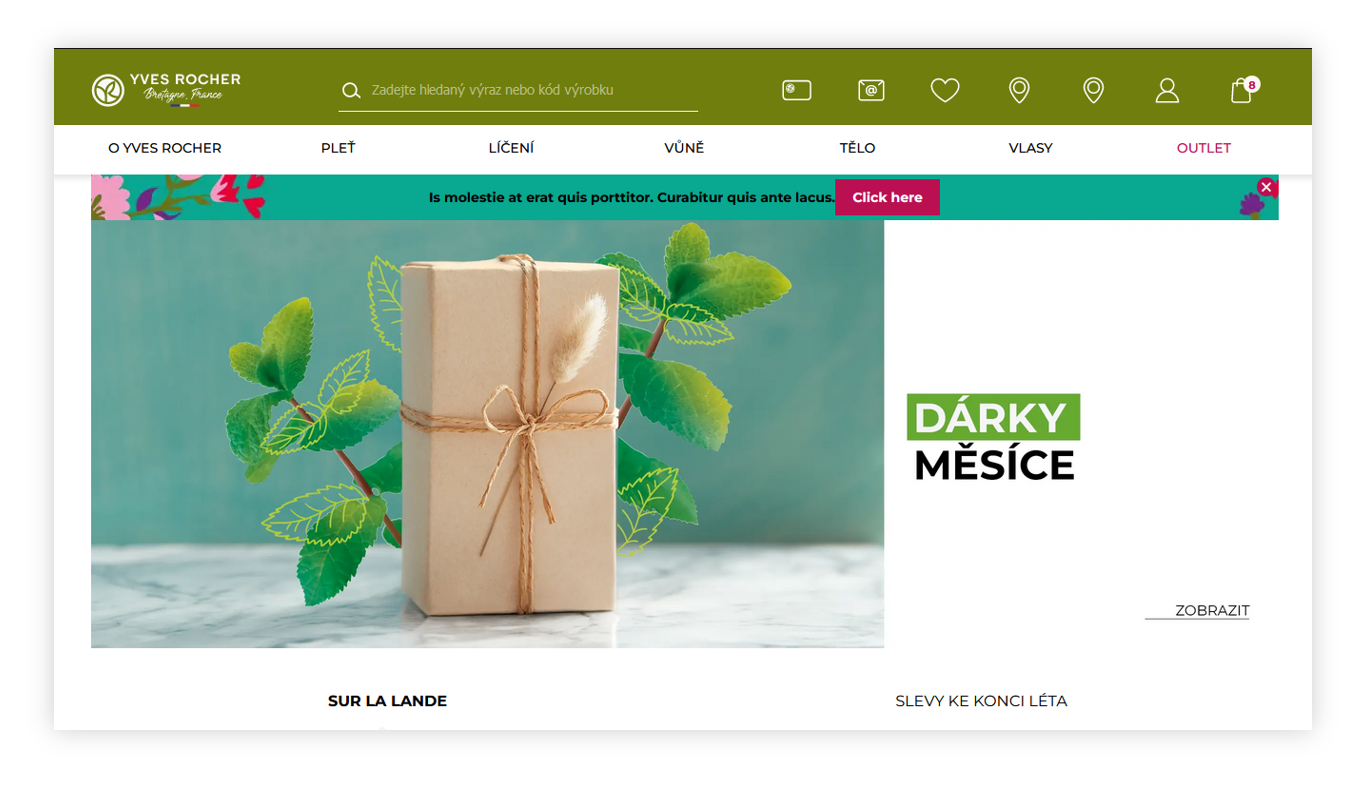 |
| *Visualization of the above\_layout\_content\_banner on a homepage* |
| 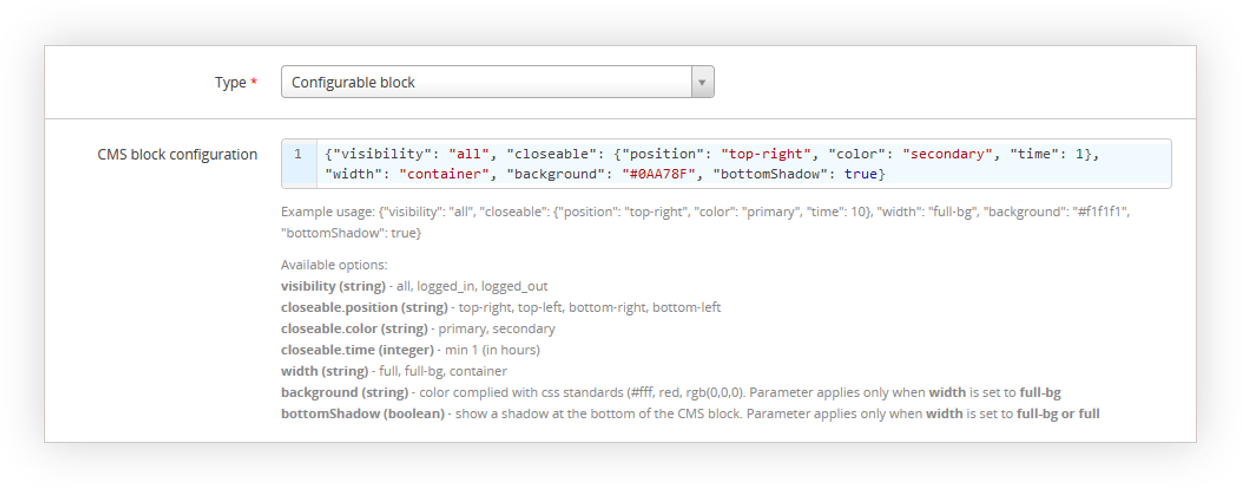 |
| *Visualization of the configurable block configuration* |
| 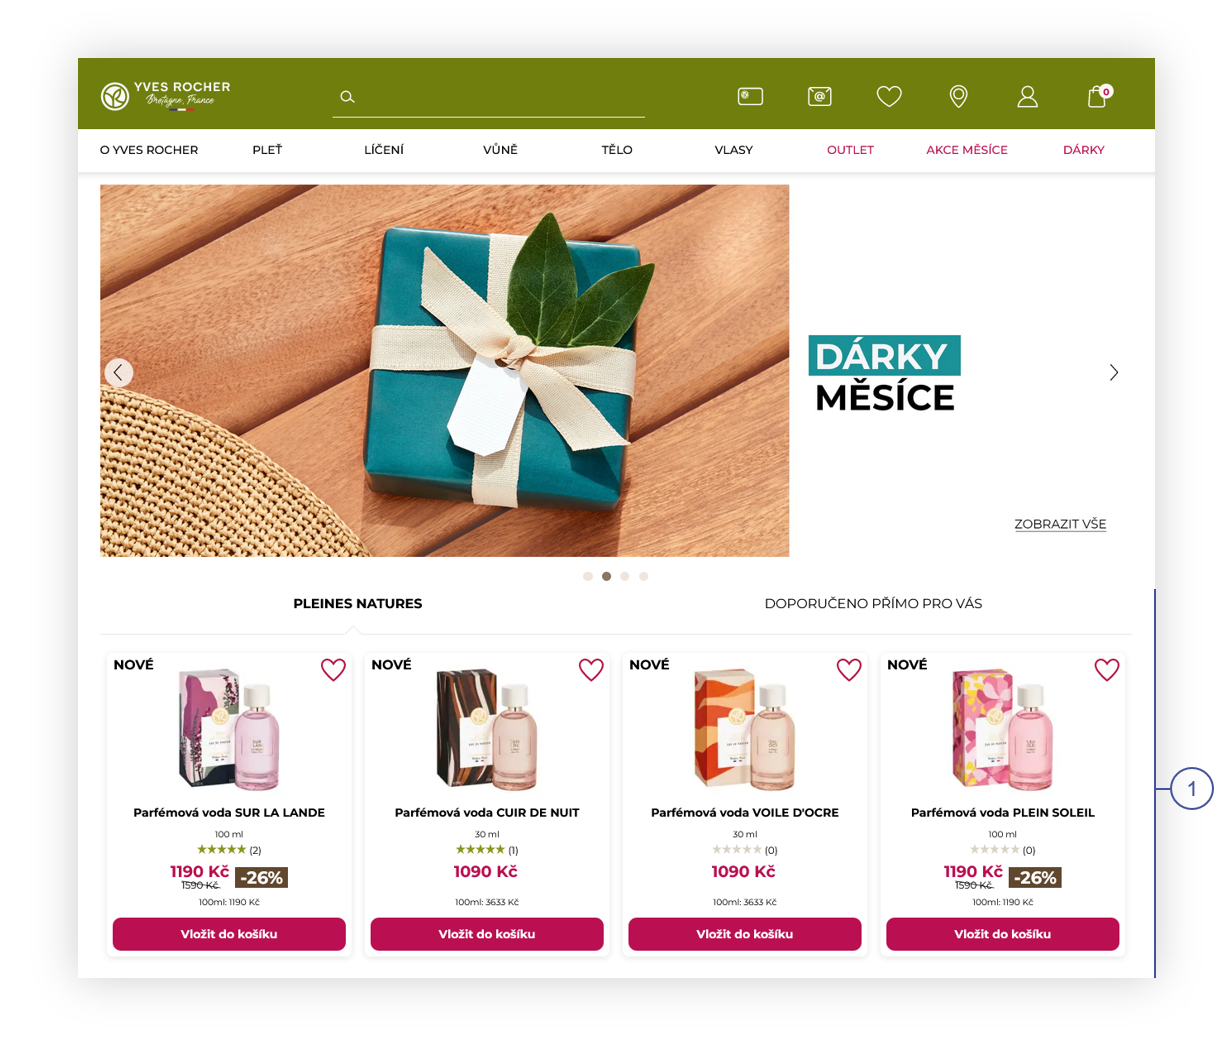 |
| *Visualization of the featured products on the home page (desktop view)* |
| 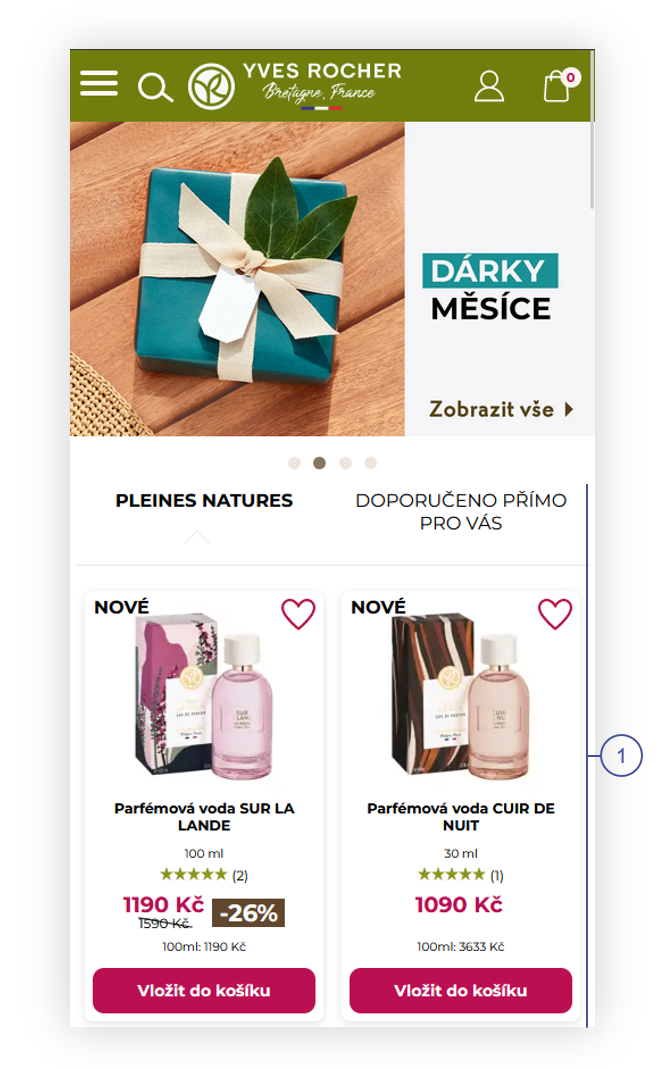 |
| *Visualization of the featured products on the home page (mobile view)* |
| 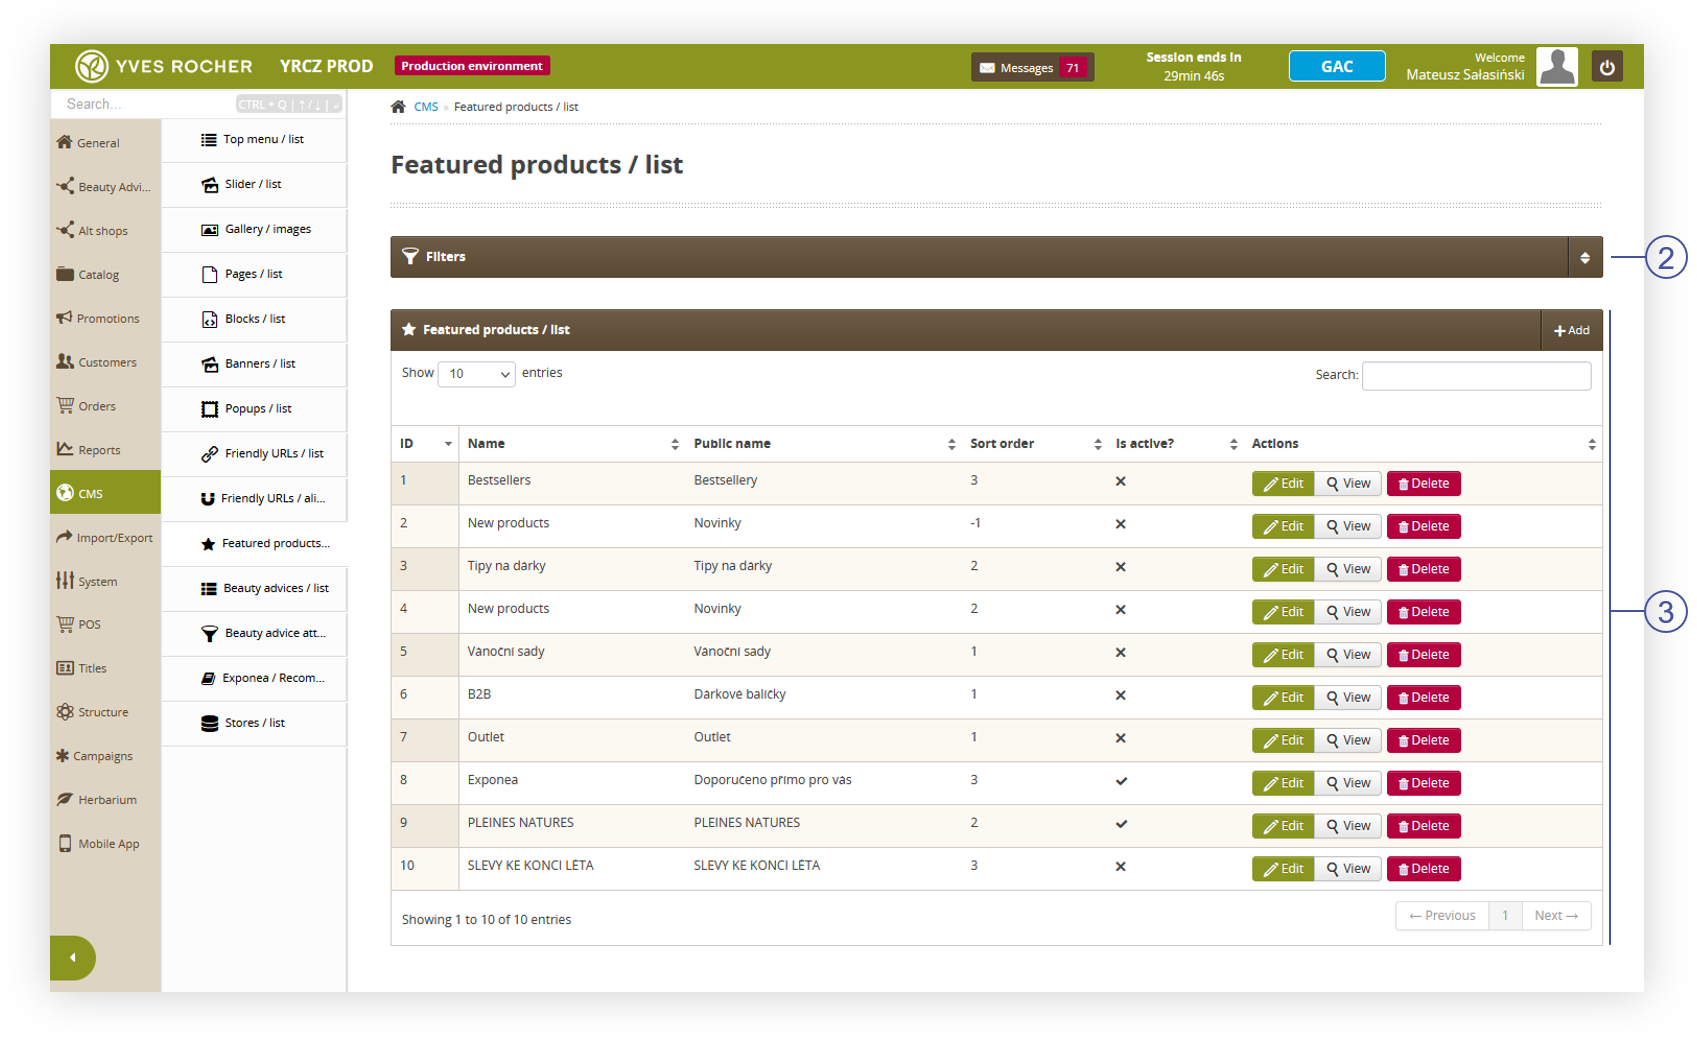 |
| *Visualization of the featured products / list* |
|  |
| *Visualization of the filters tab in the Featured products / list module* |
| 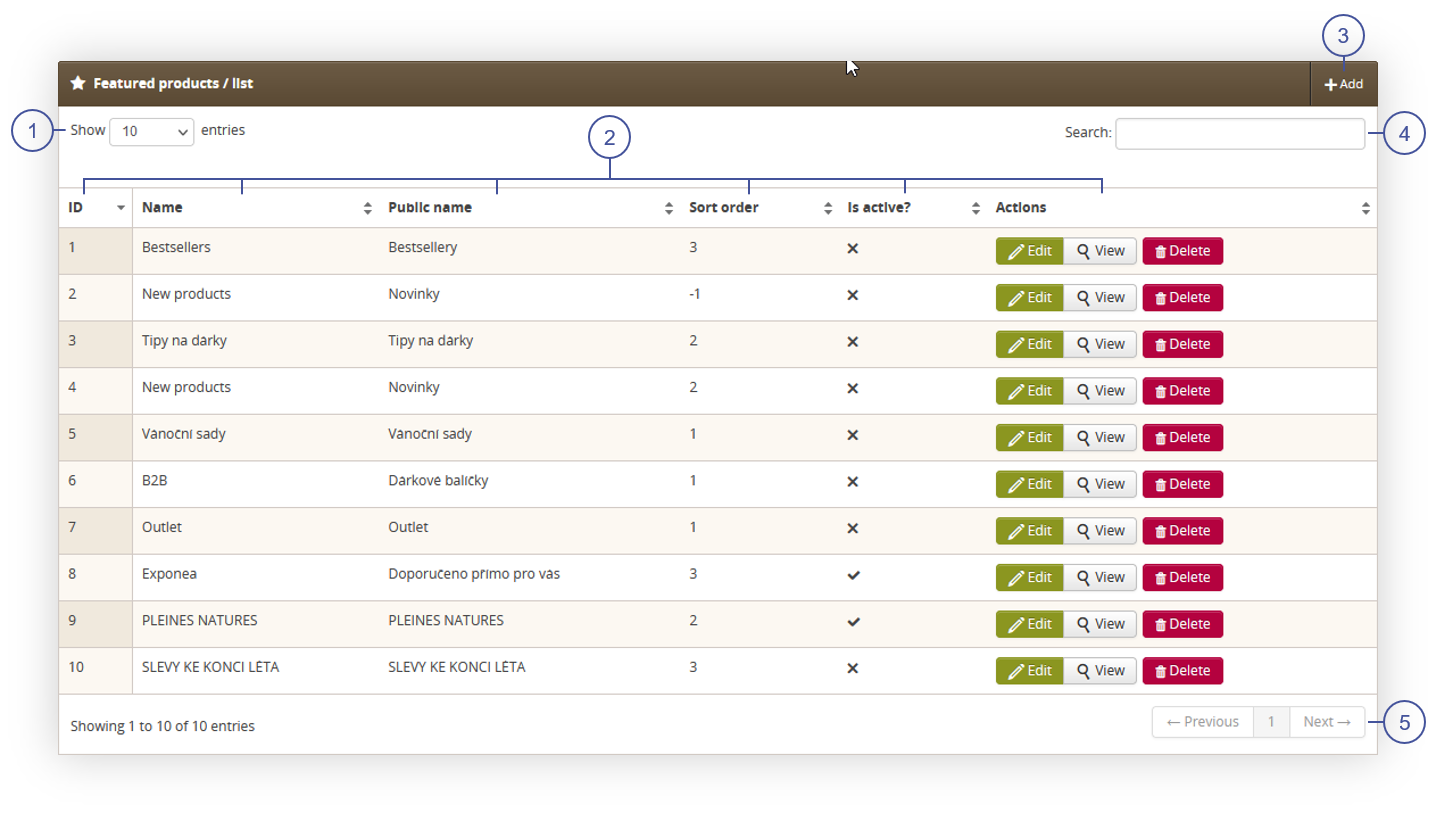 |
| *Visualization of the select list section in the Featured products / list module* |
| 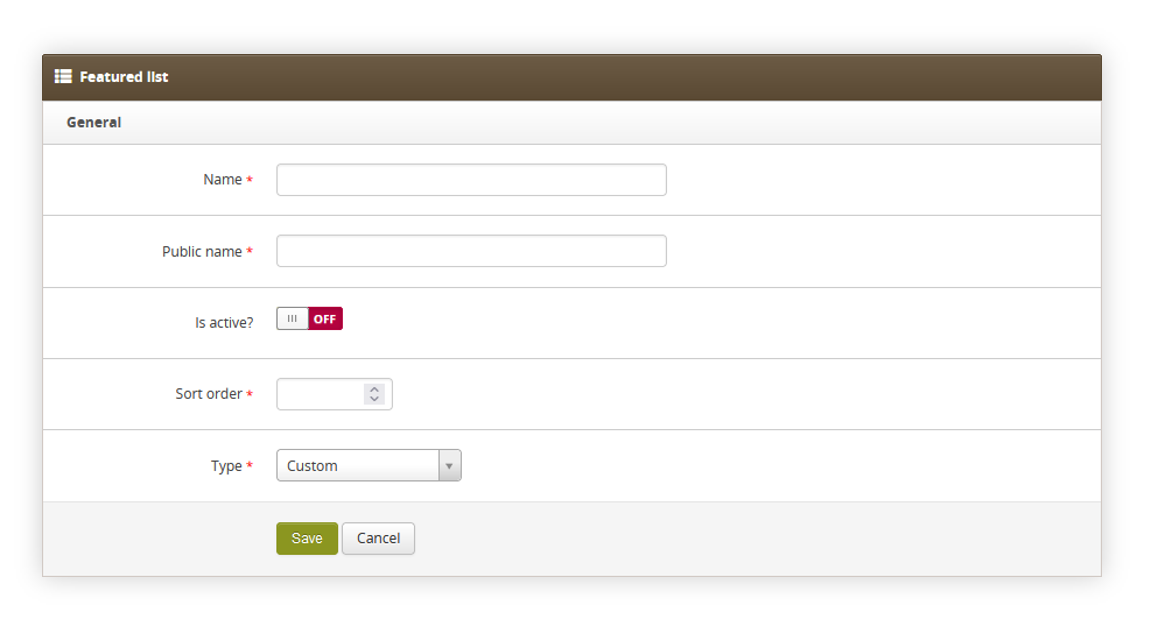 |
| *Visualization of the adding of the featured products list* |
| 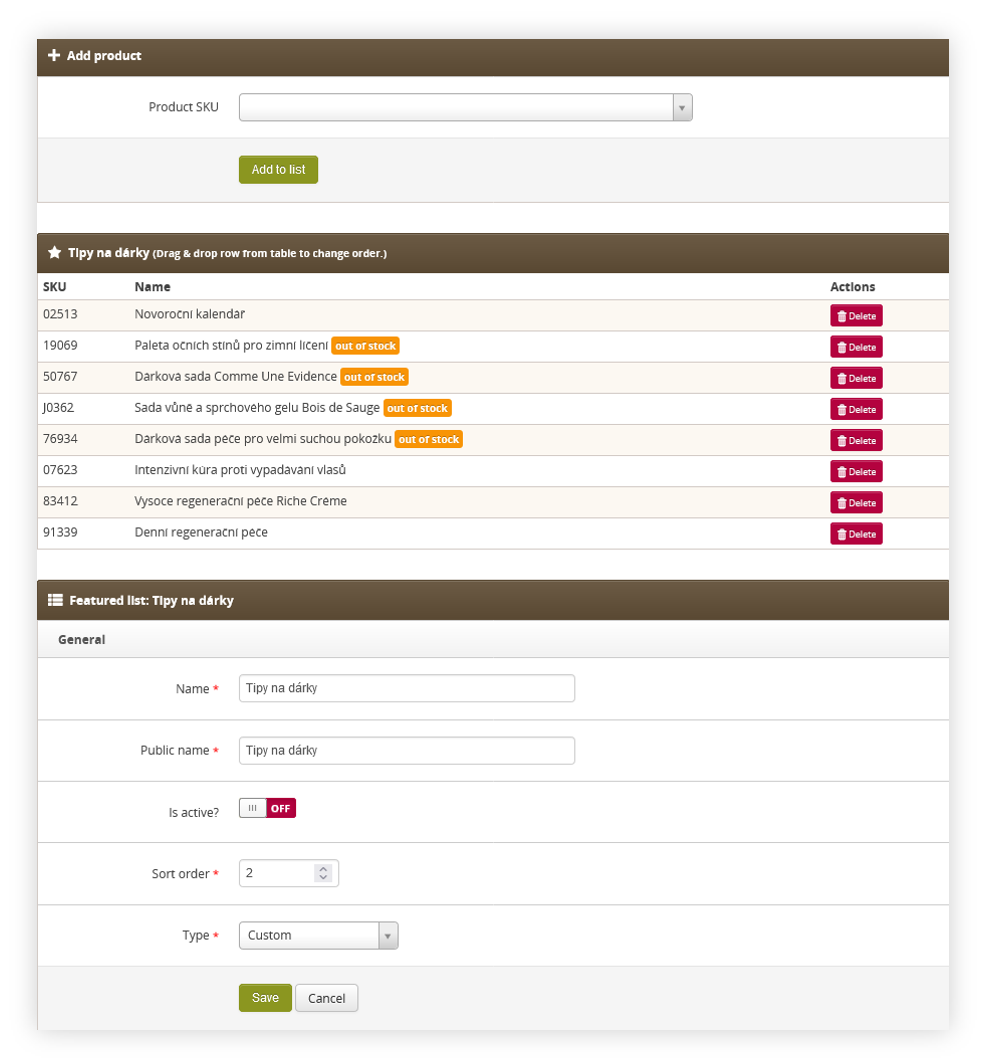 |
| *Visualization of the custom type* |
| 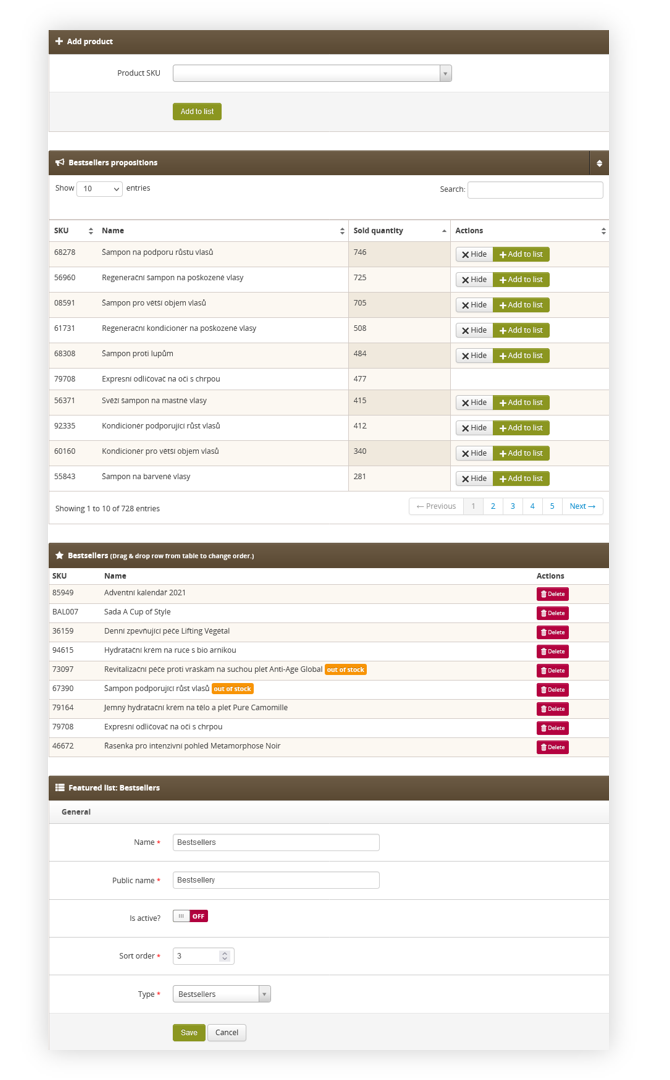 |
| *Visualization of the bestsellers type* |
| 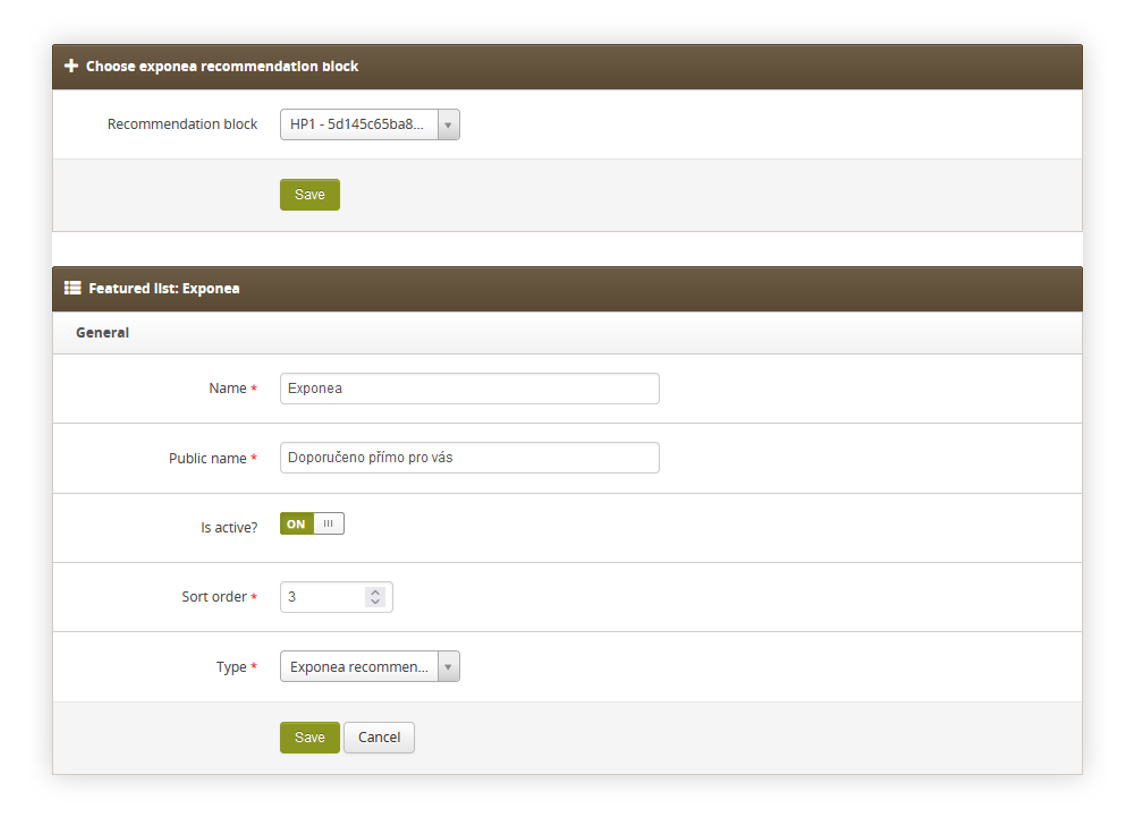 |
| *Visualization of the adding of the exponea recommendations type* |
| 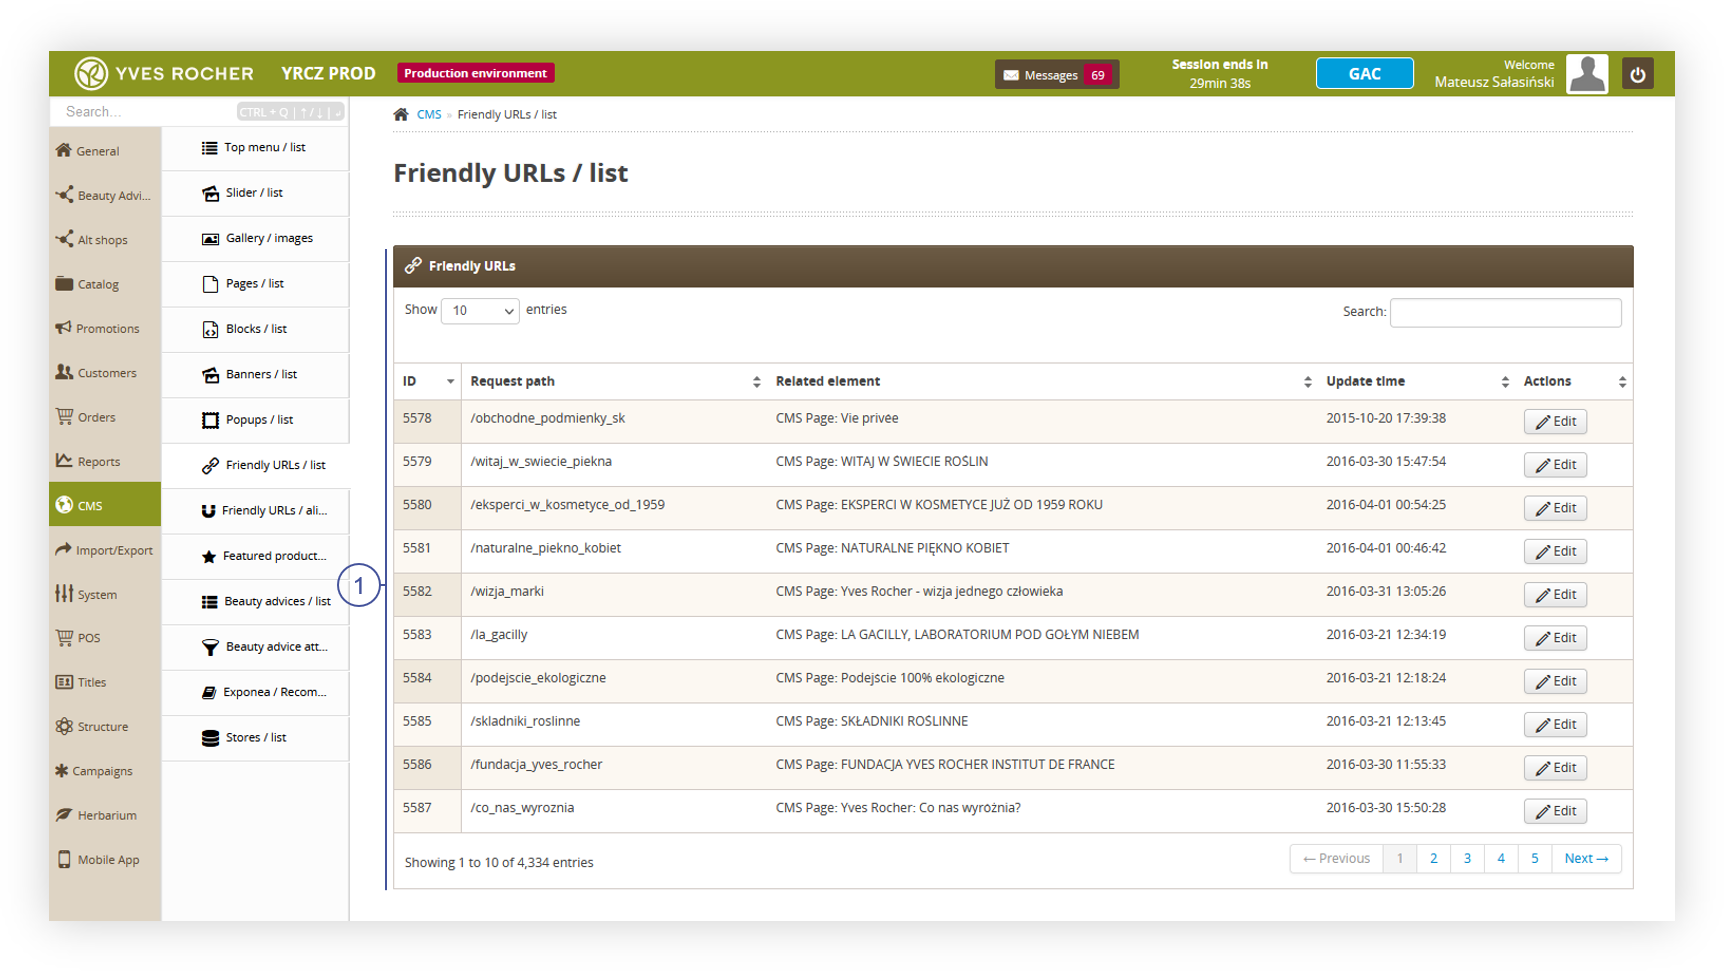 |
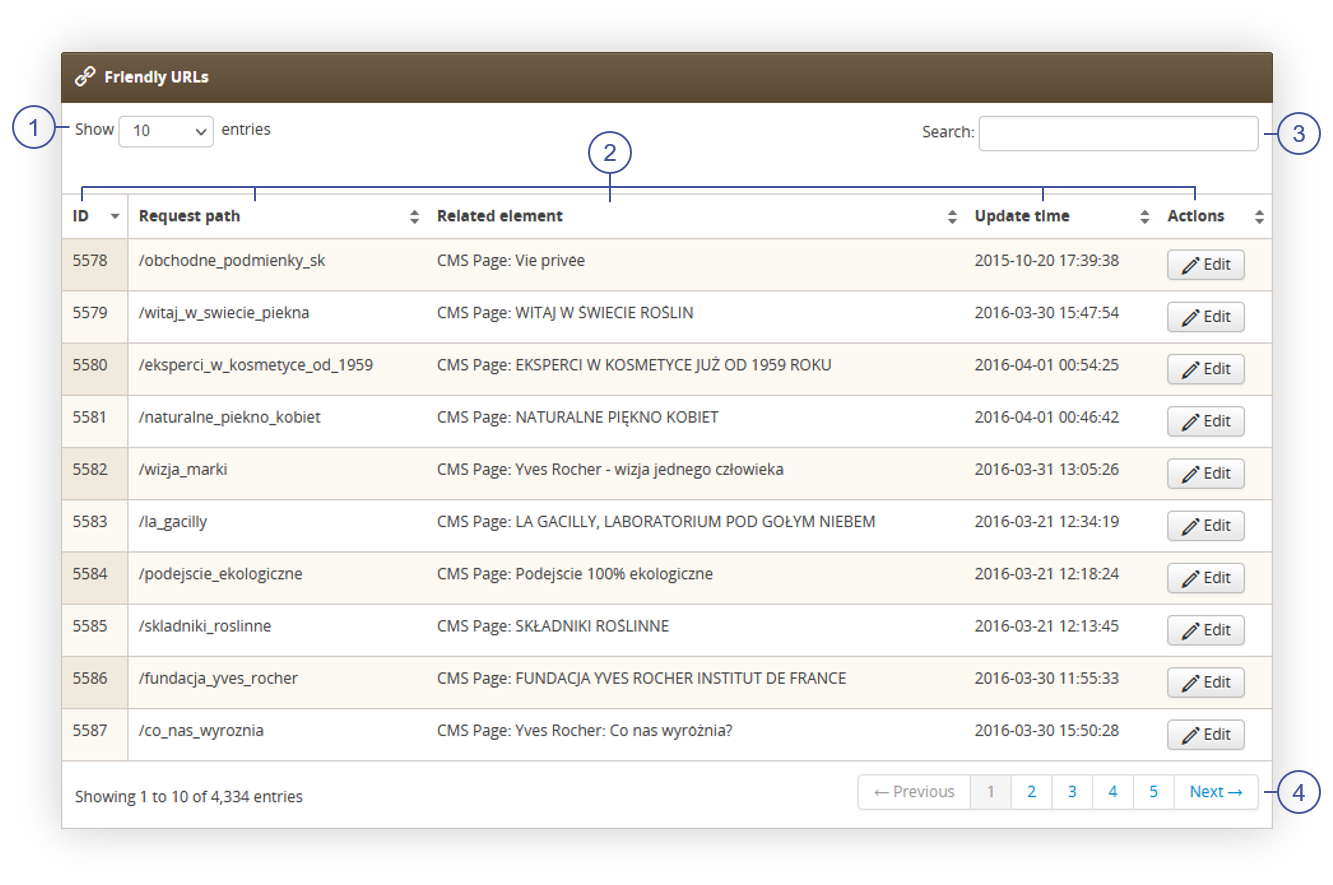
| *Visualization of the Friendly URLs / list page* |
| 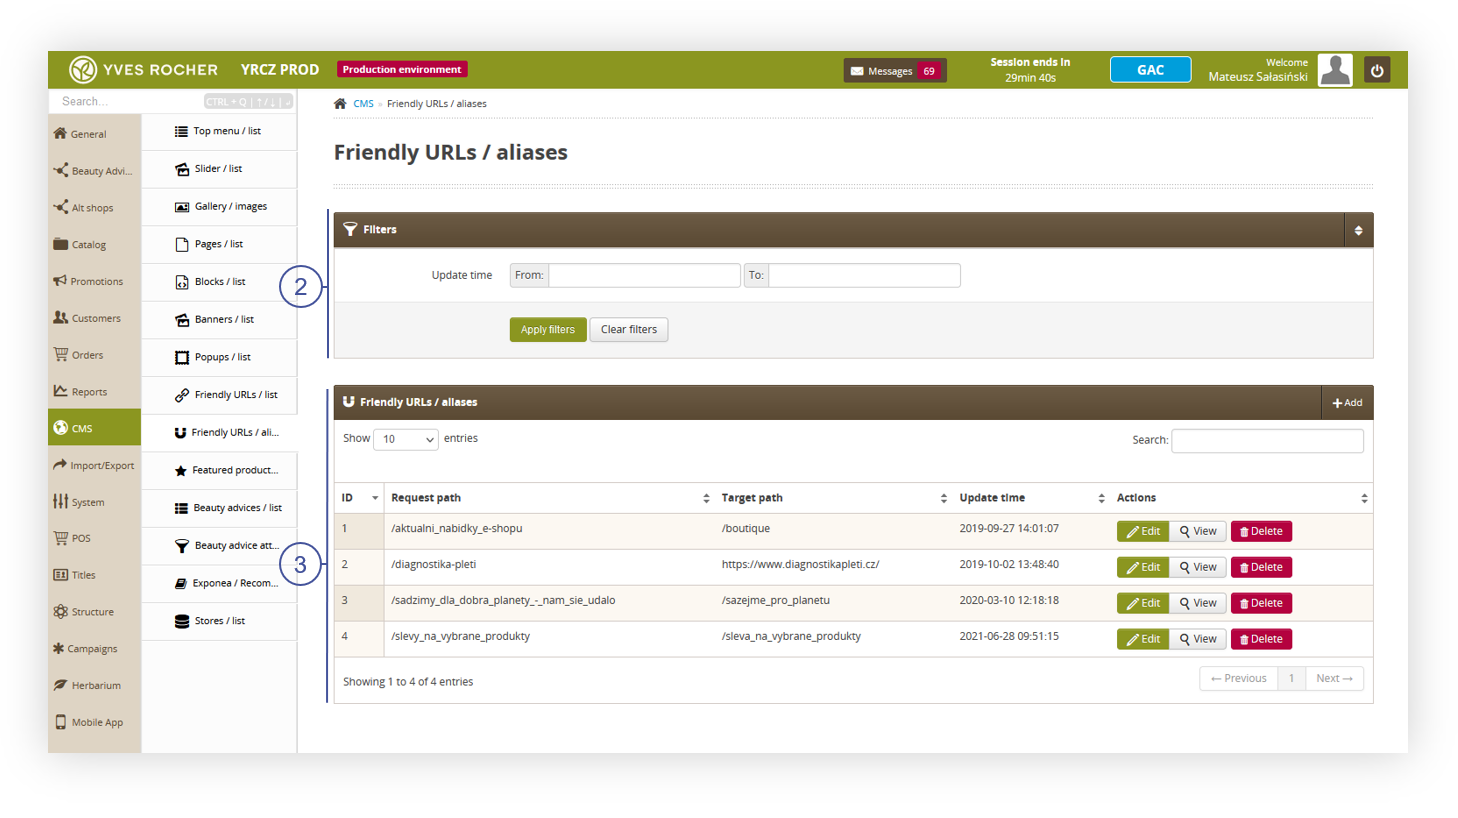 |
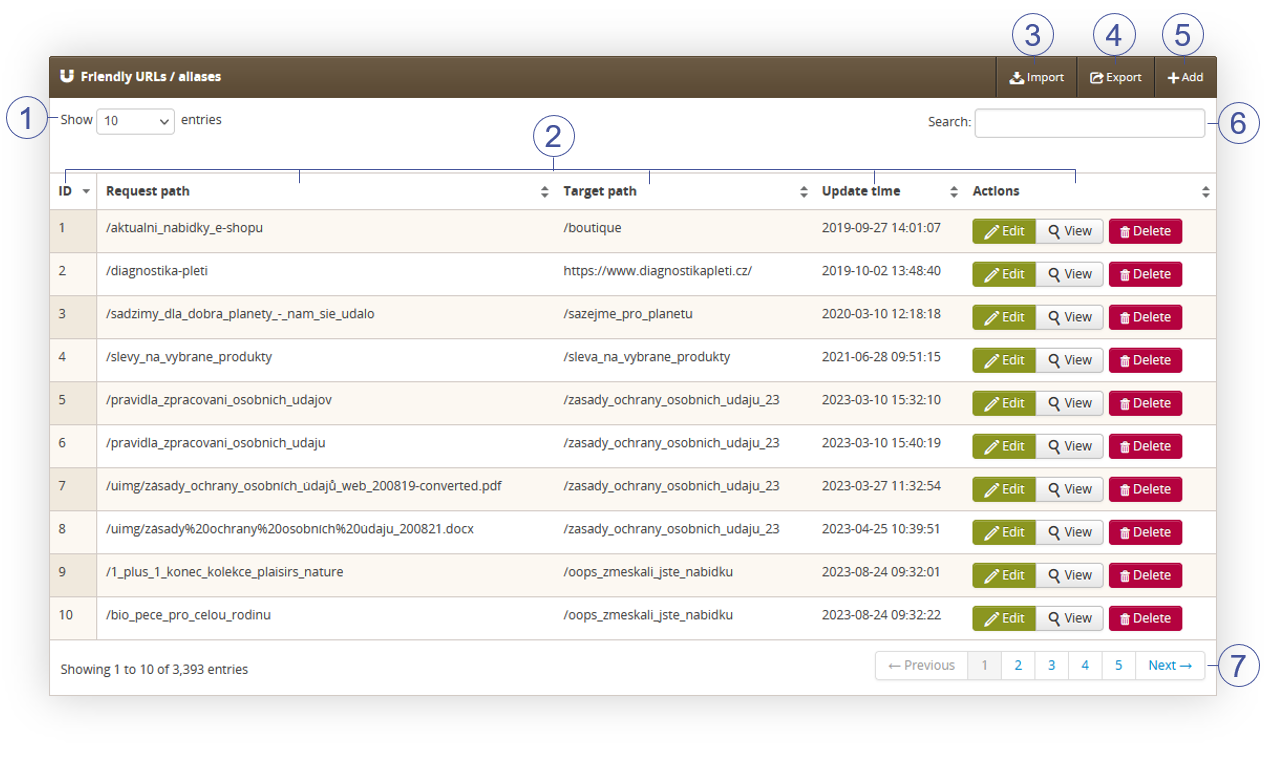
| *Visualization of the Friendly URLs / aliases page* |
|  |
| *Visualization of the Friendly URLs section* |
| 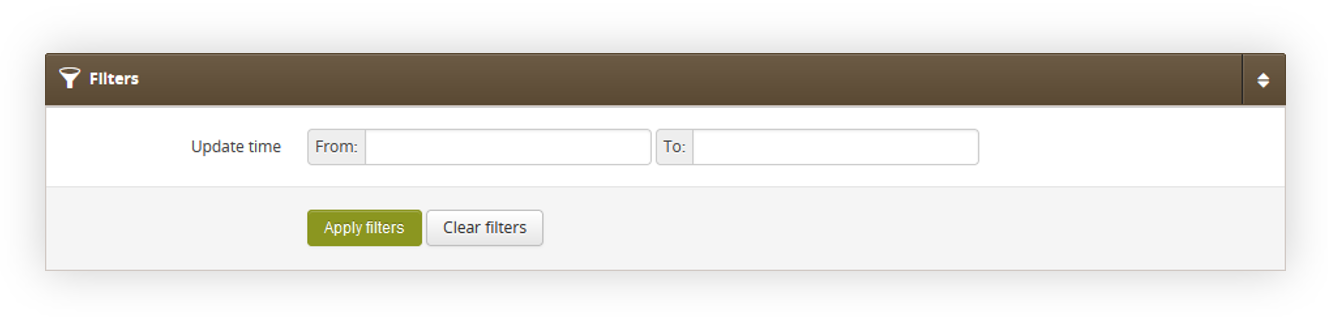 |
| *Visualization of the filters section in the Friendly URLs / aliases* |
|  |
| *Visualization of the Friendly URLs / aliases section* |
| 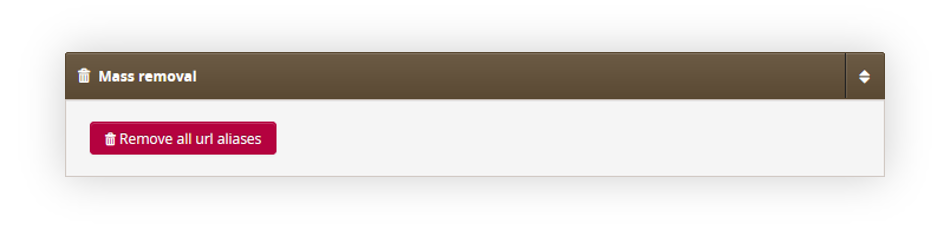 |
| *Visualization of the Friendly URLs / aliases section* |
|  |
| *Visualization of the Friendly URLs / aliases section* |
| 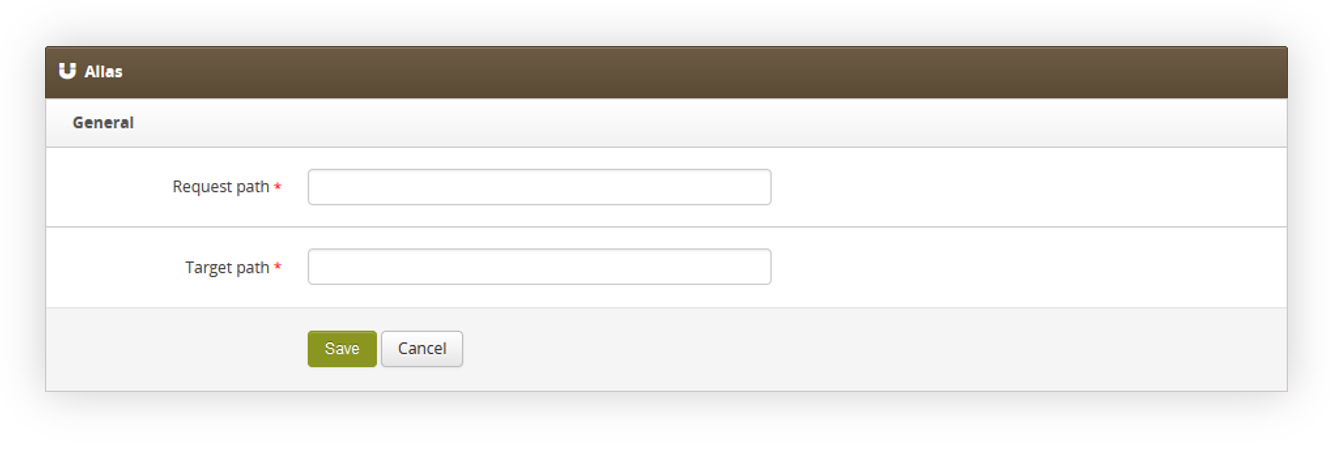 |
| *Visualization of the adding of the new aliases.* |
|  |
| *Visualization of the adding of the new aliases.* |
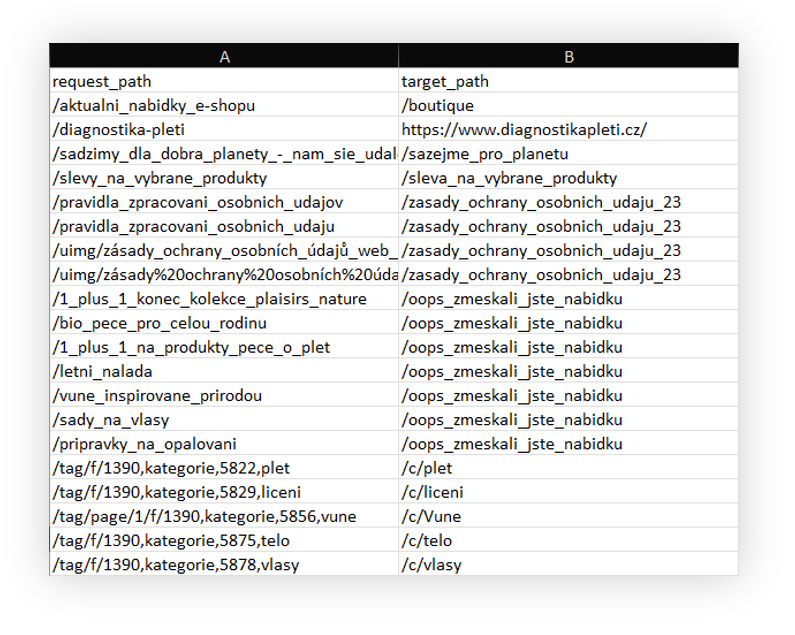
| request\_path | target\_path |
| /Webpage | /webpage |
| 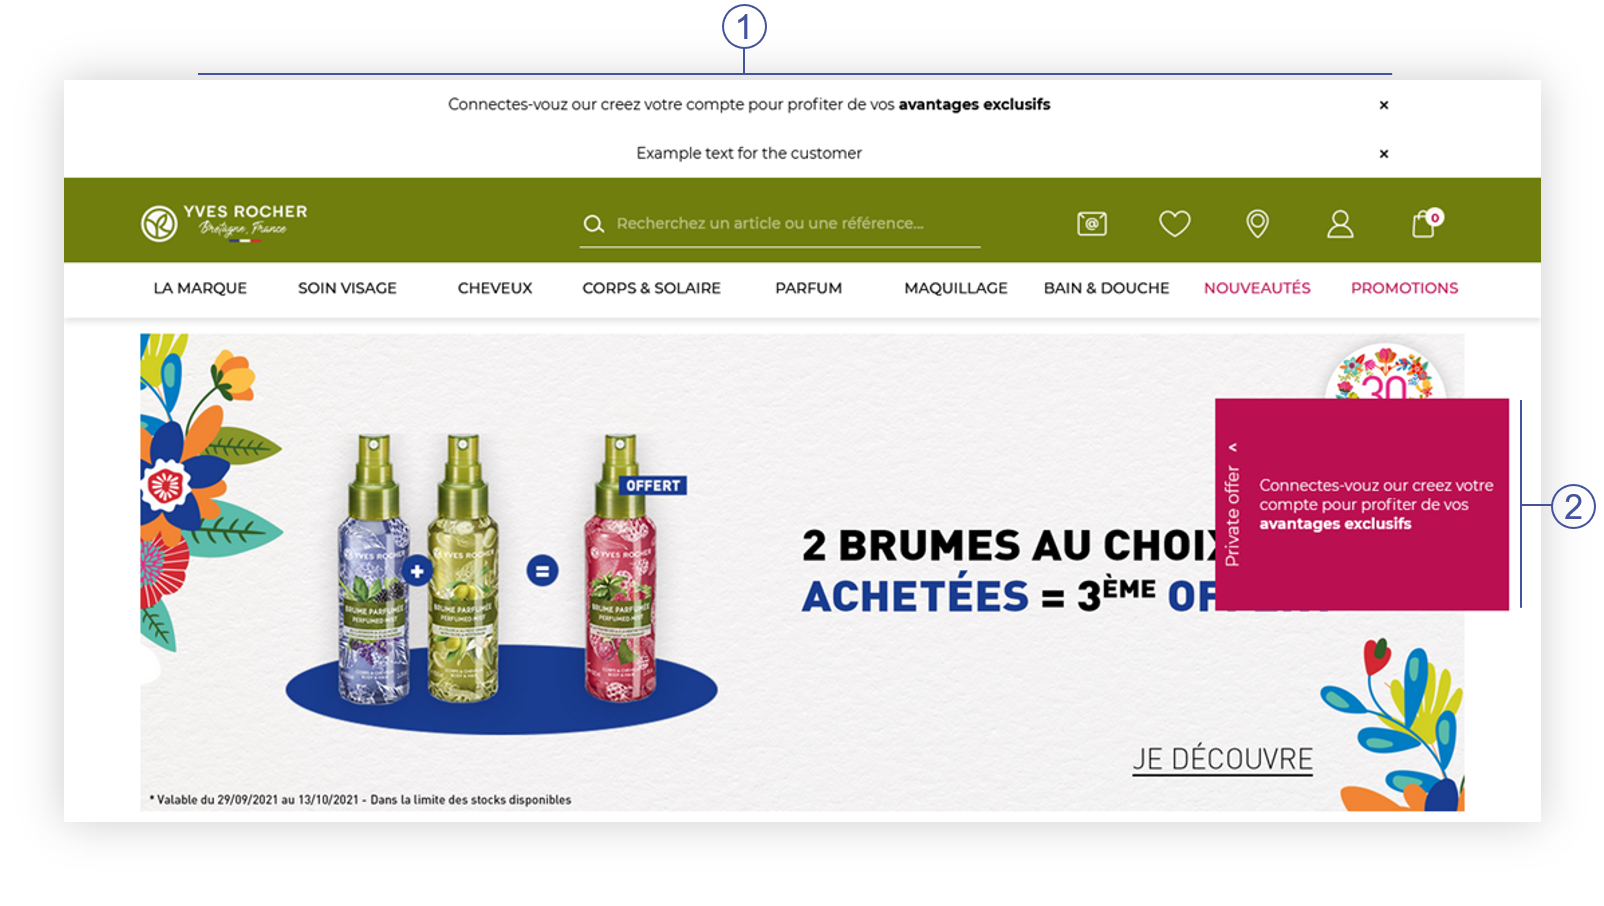 |
| *Visualization of the banners on the homepage (Desktop view)* |
| 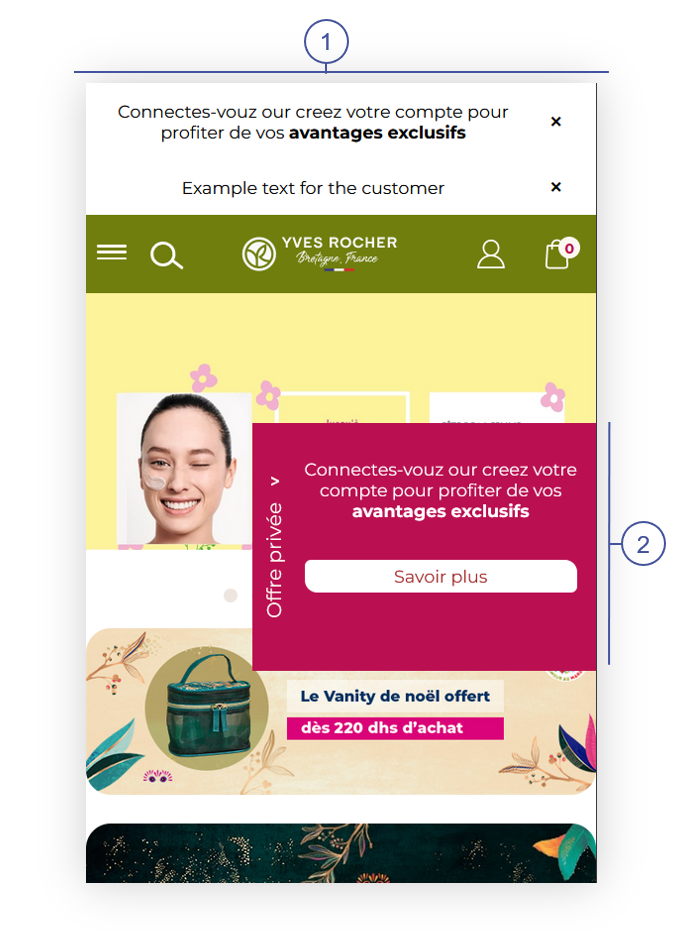 |
| *Visualization of the banners on the homepage (Mobile view)* |
| 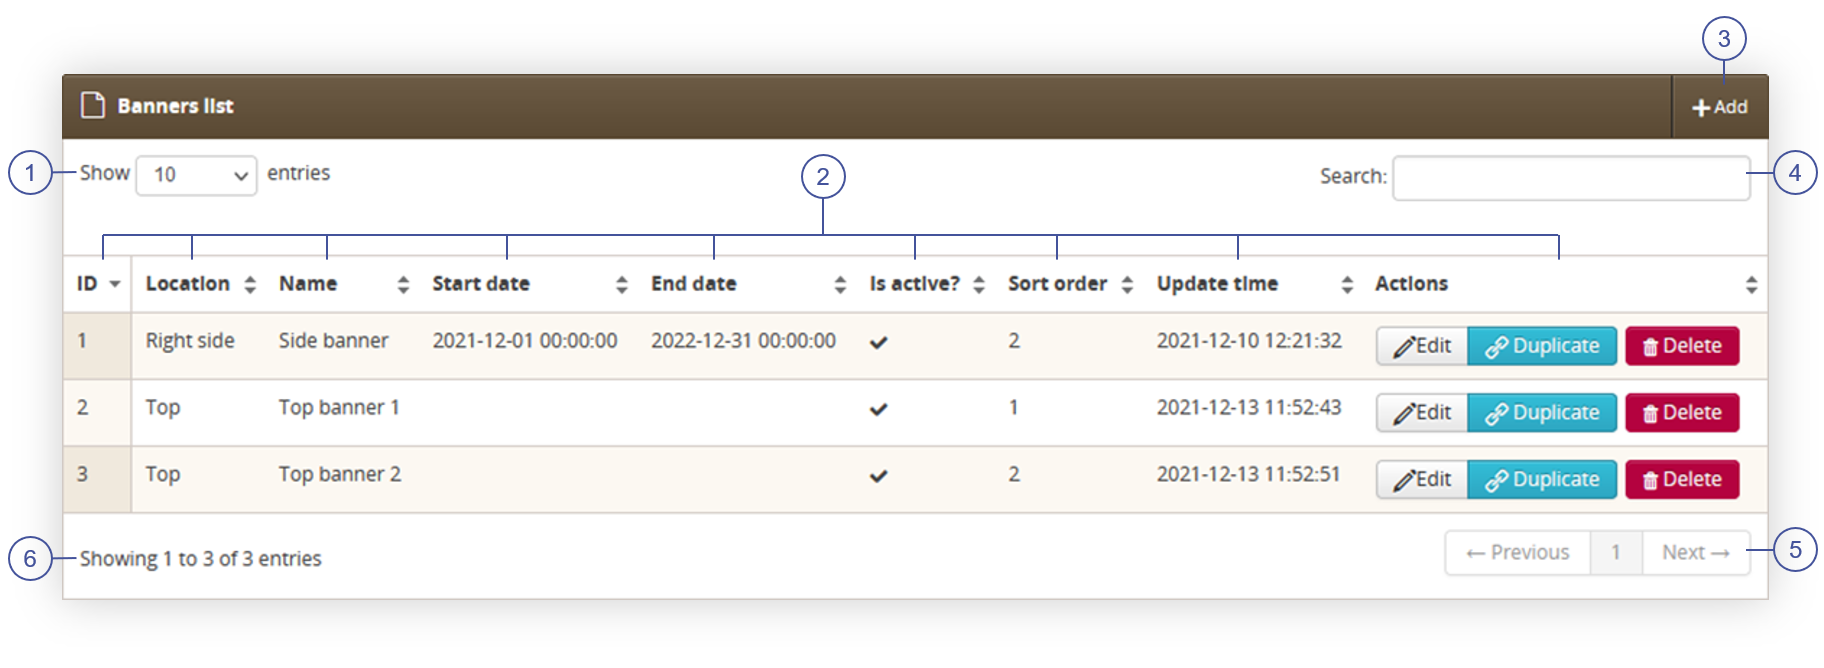 |
| *Visualization of the Banners / list tab* |
| 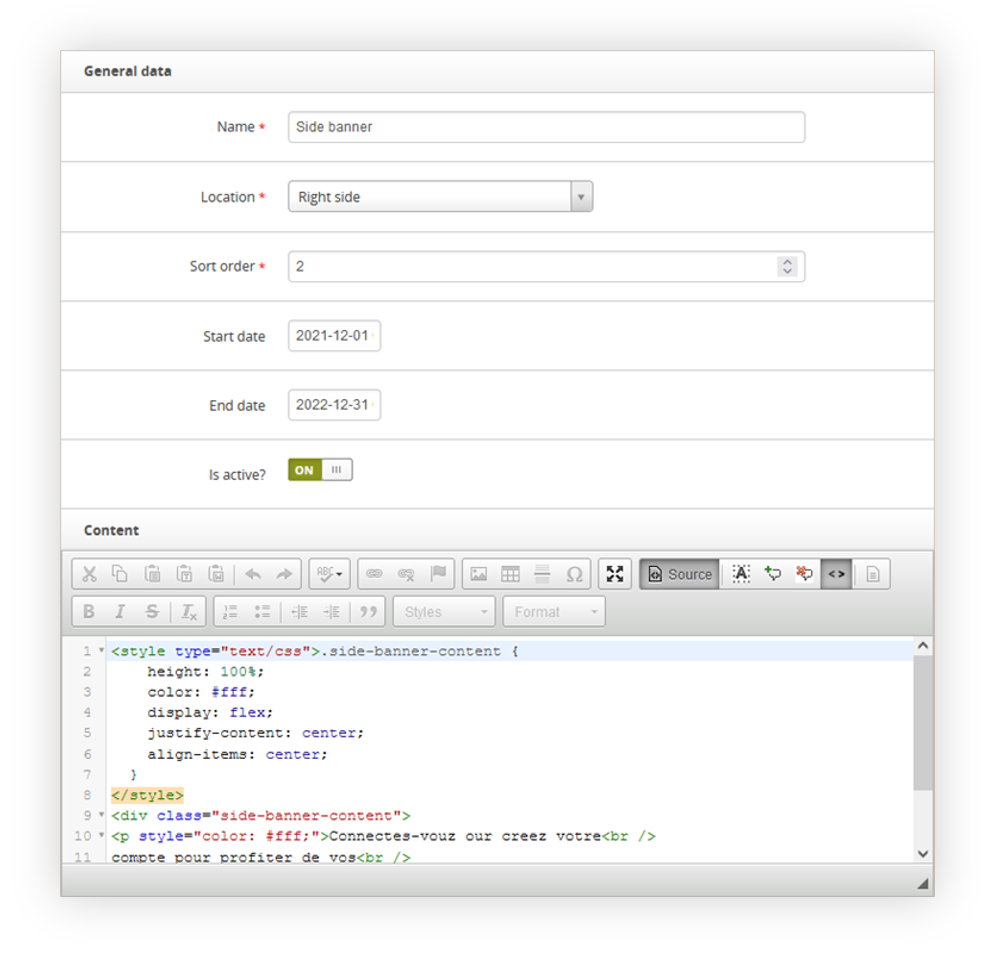 |
| *Visualization of the new banner creation* |
Connectes-vouz our creez votre compte pour profiter de vos avantages exclusifs
| 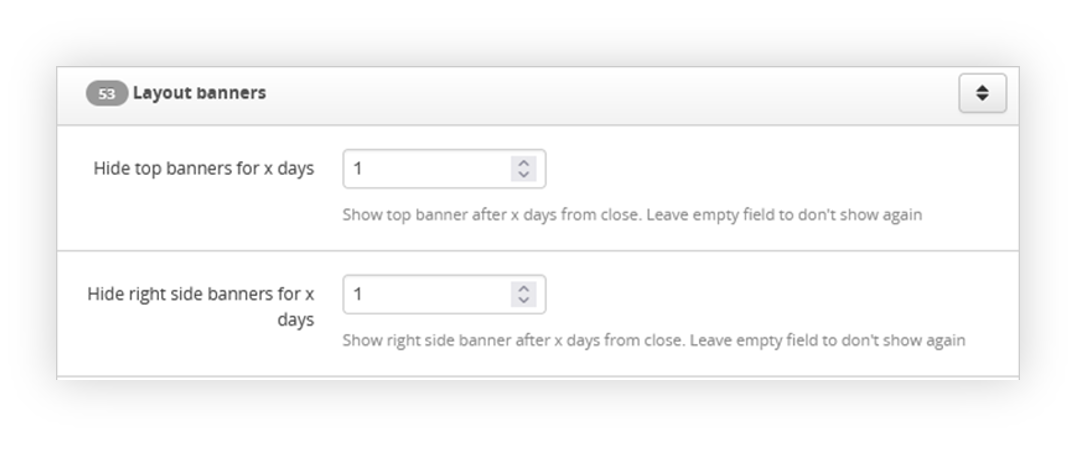 |
| *Visualization of the Layout banners tab in the System / settings* |
|  |
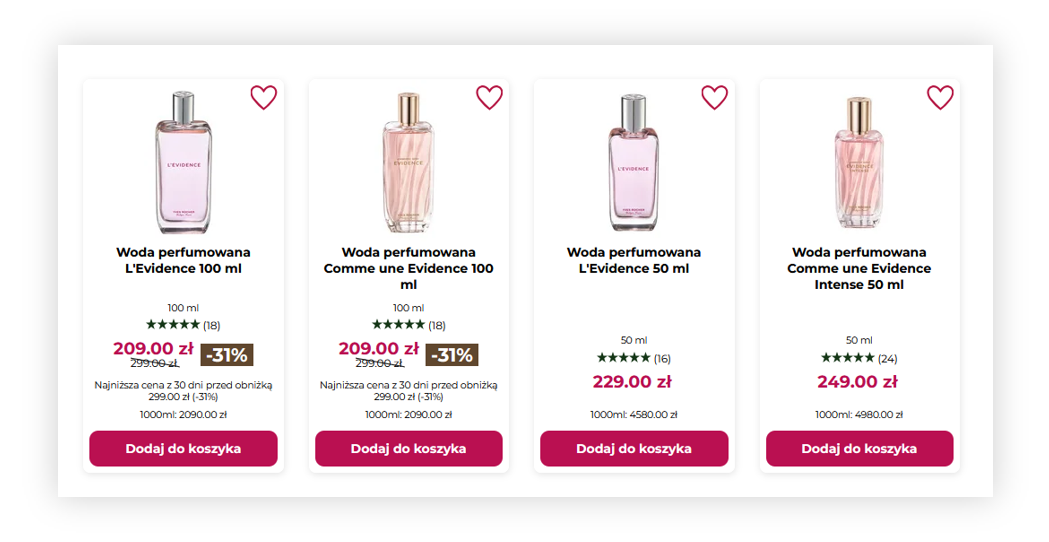
| *Visualization of the banners on the homepage (Desktop view)* |
|  |
| *Visualization of the banners on the homepage (Mobile view)* |
| [](https://knowledge.tauceti-digital.com/uploads/images/gallery/2025-02/powerpnt-acw4u5h7sn.png) |
| *Visualization of the example usage of a pseudotag* |
| [](https://knowledge.tauceti-digital.com/uploads/images/gallery/2025-02/powerpnt-remqlvtnoa.png) |
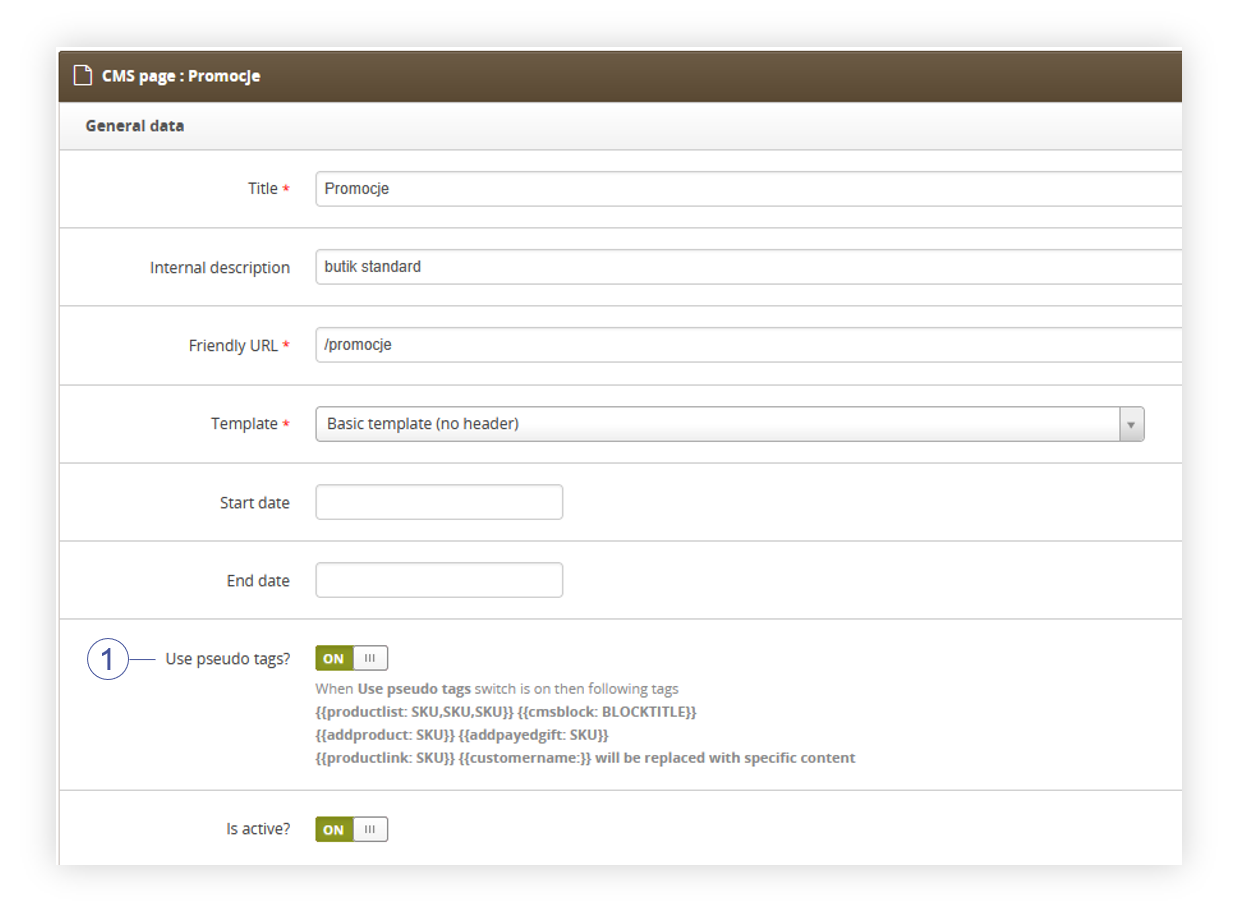
| *Visualization of the use pseudo tags? button.* |
| **Name** | **Available arguments** |
| **cmsblock** | Title of a CMS block |
| **addpayedgift** | SKU number of a product |
| **addproduct** | |
| **productlink** | |
| **productlist** | **reload:true** - sets if the add to cart modal should be shown to the customer. If this argument is set to false customer will see add to cart modal, if it's set to true customer will remain on the page. **limit:6** - sets the limit how many products should be displayed at the same time SKU list separated by comma (",") |
| **blockproductlist** | |
| **productlistsmall** | |
| **productlistcolor** | |
| **productlistsmallcart** | |
| **productlistbig** | |
| **treescounter** | N/A |