| 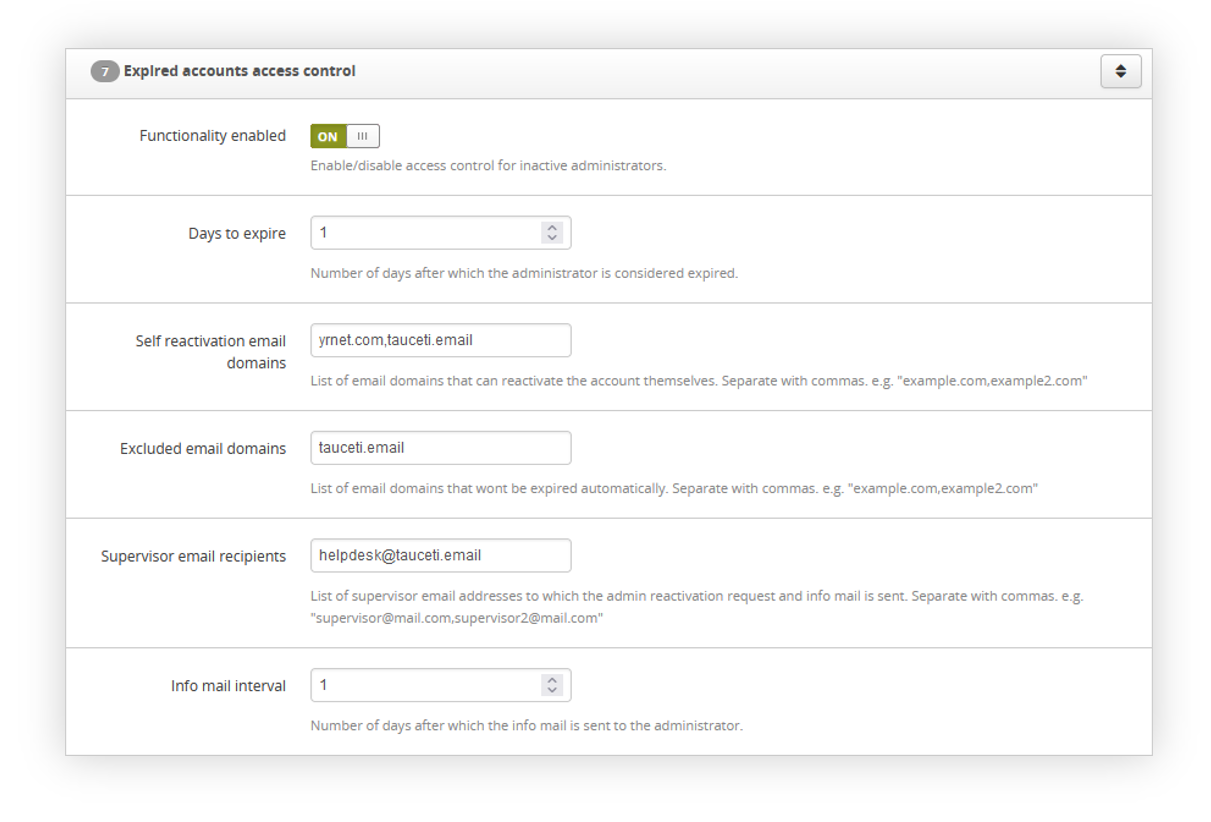 |
| *Visualization of the system settings* |
|  |
| *Visualization of the error message when the account is expired* |
| 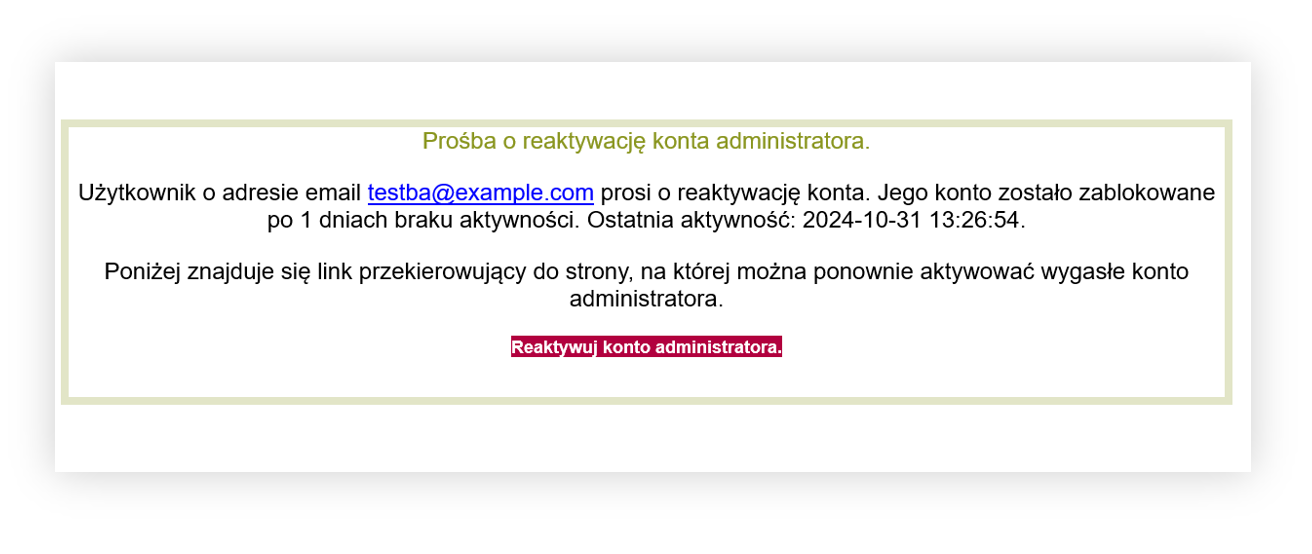 |
| *Visualization of the example re-activation e-mail.* |
| 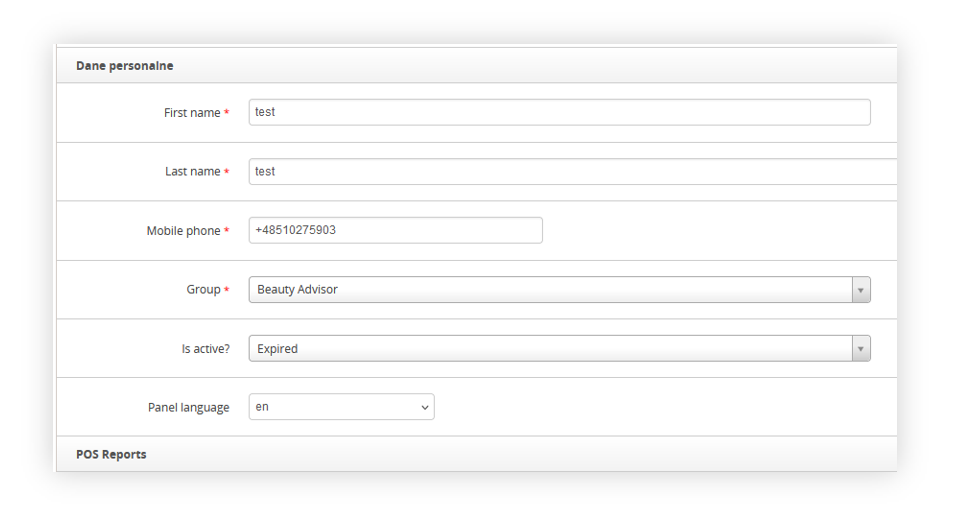 |
| *Visualization of the user profile in the admin panel* |
| 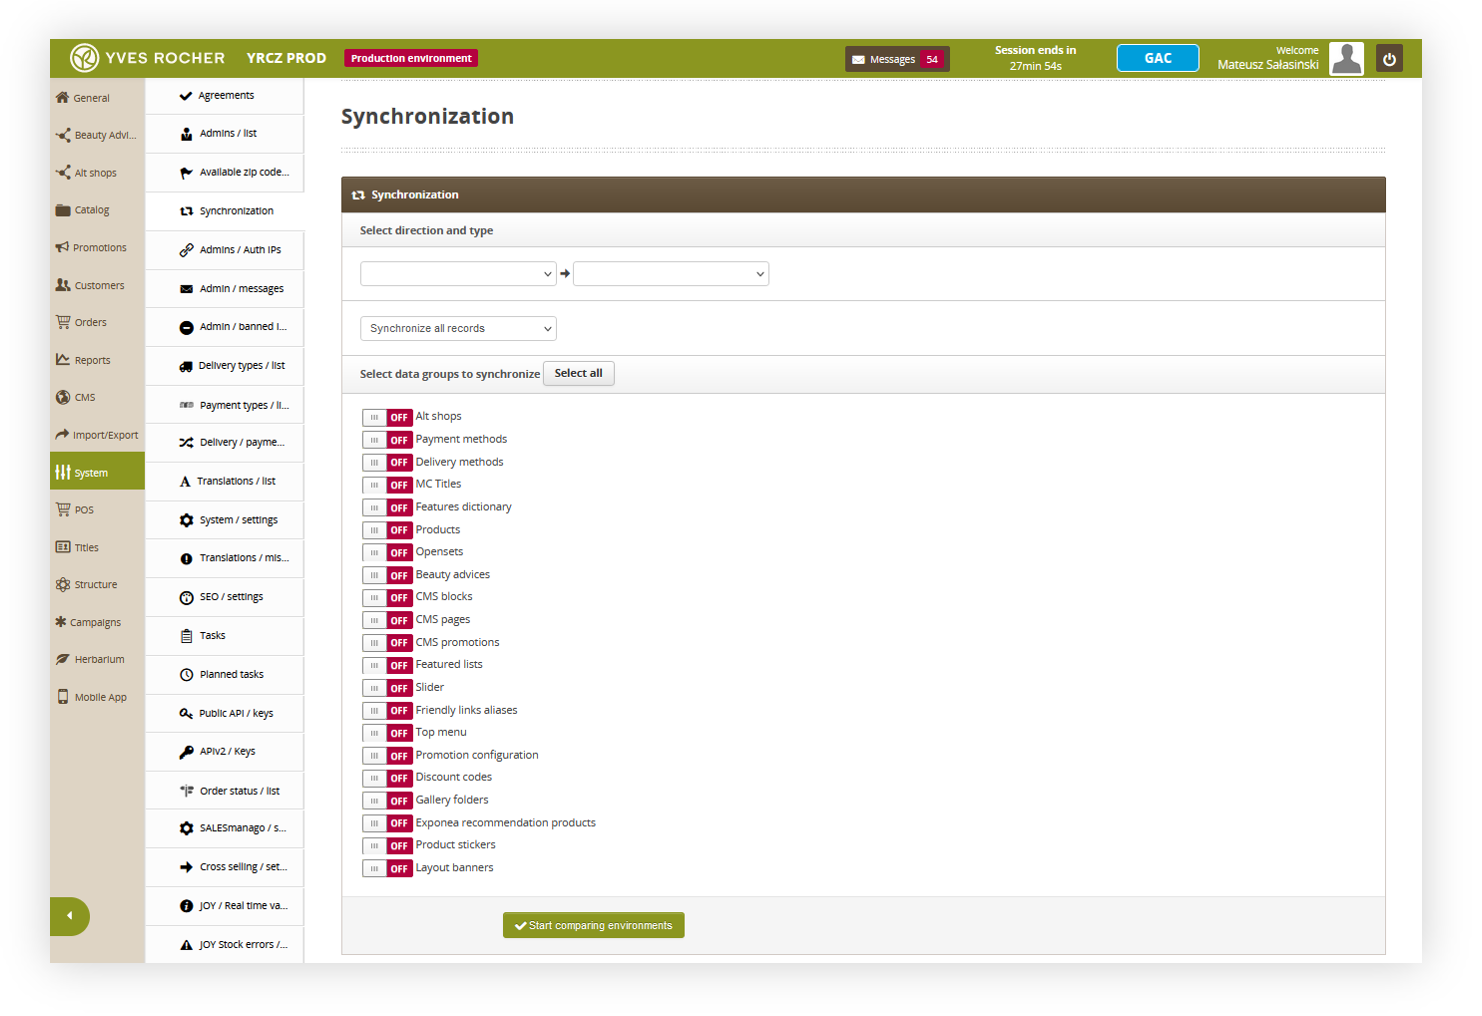 |
| *Visualization of the synchronization tab* |
| 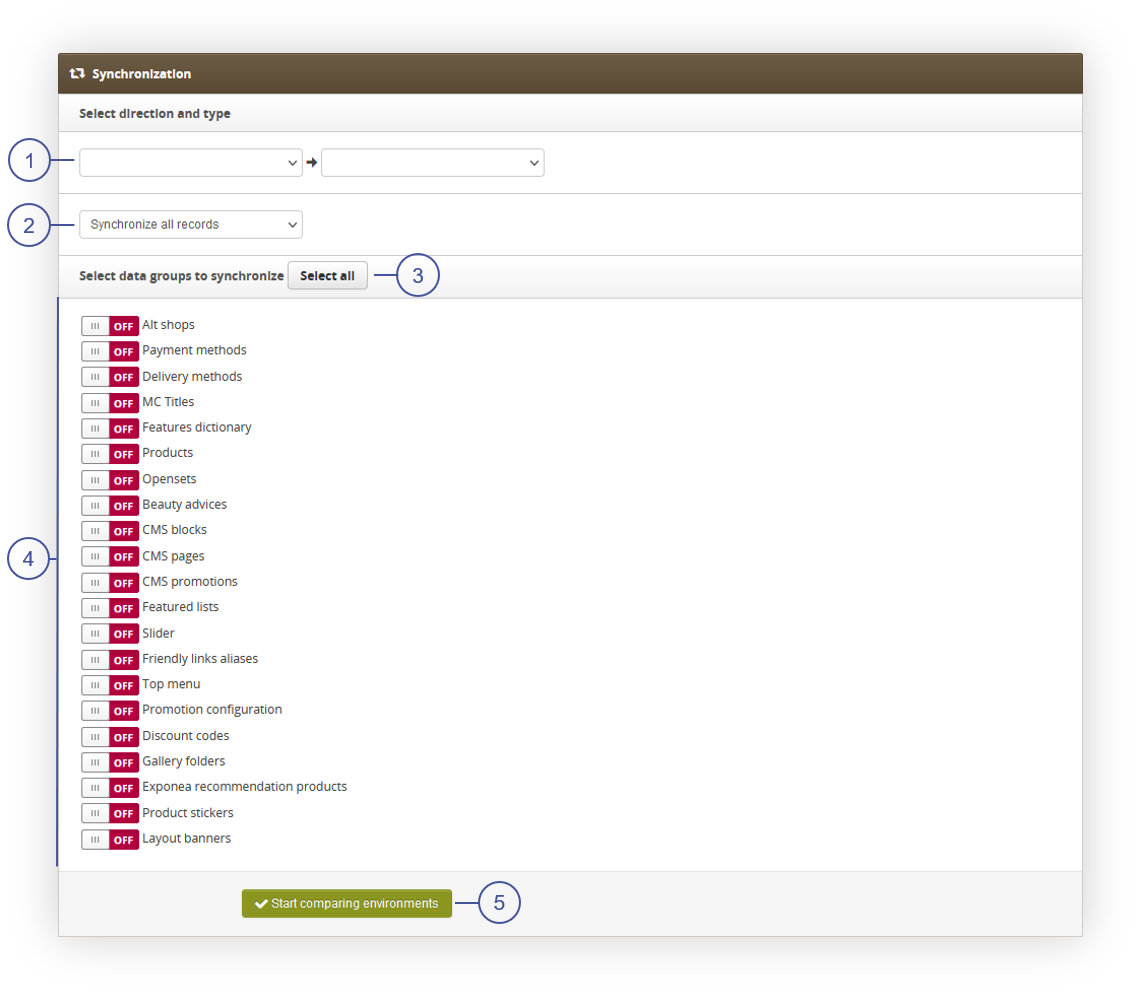 |
| *Visualization of the synchronization tab* |
|  |
| *Visualization of the e-mail message* |
| 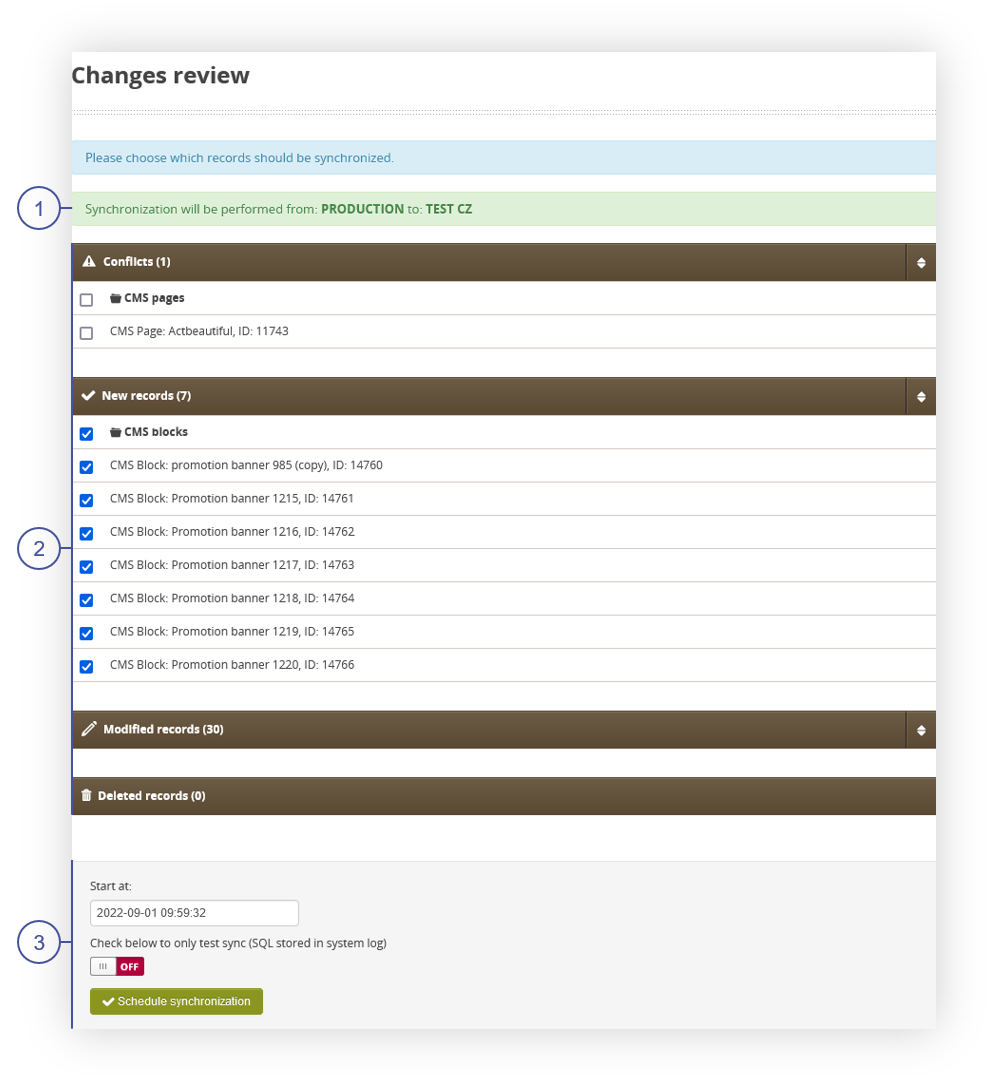 |
| *Visualization of the changes review tab* |
| 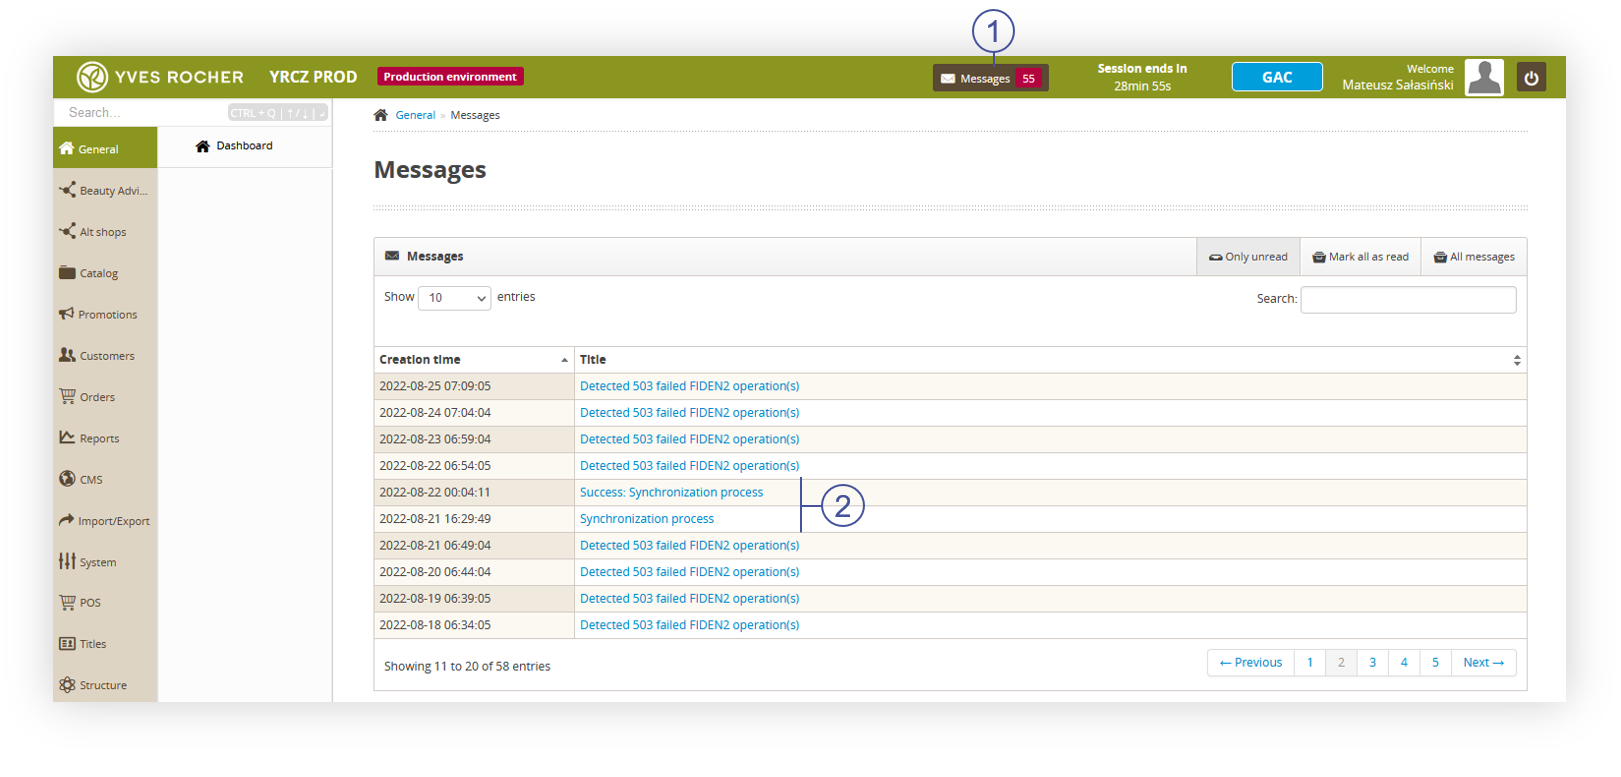 |
| *Visualization of the messages tab* |
| 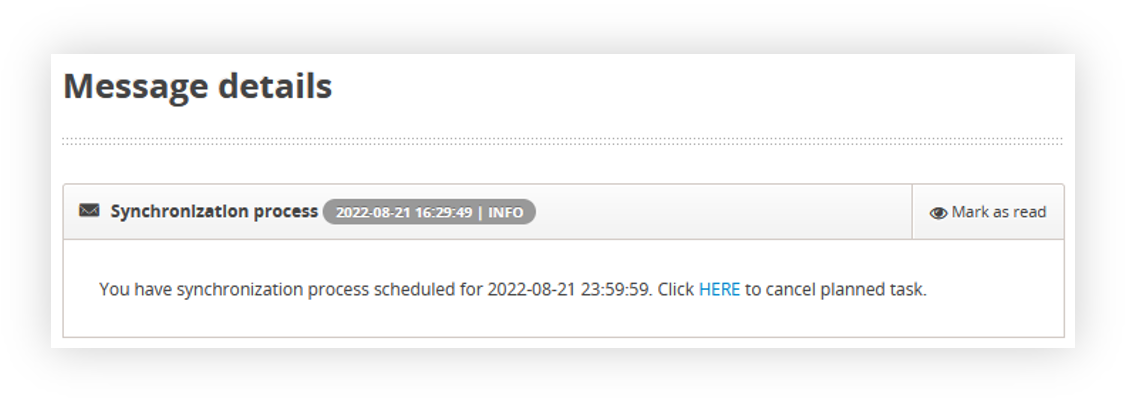 |
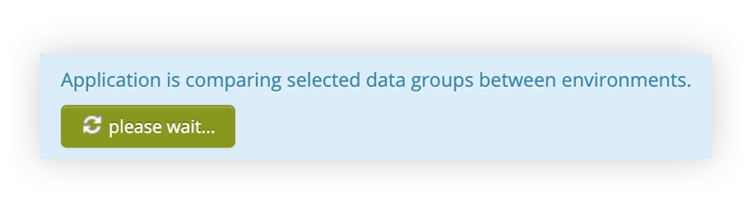
| *Visualization of the synchronization process message tab* |
| 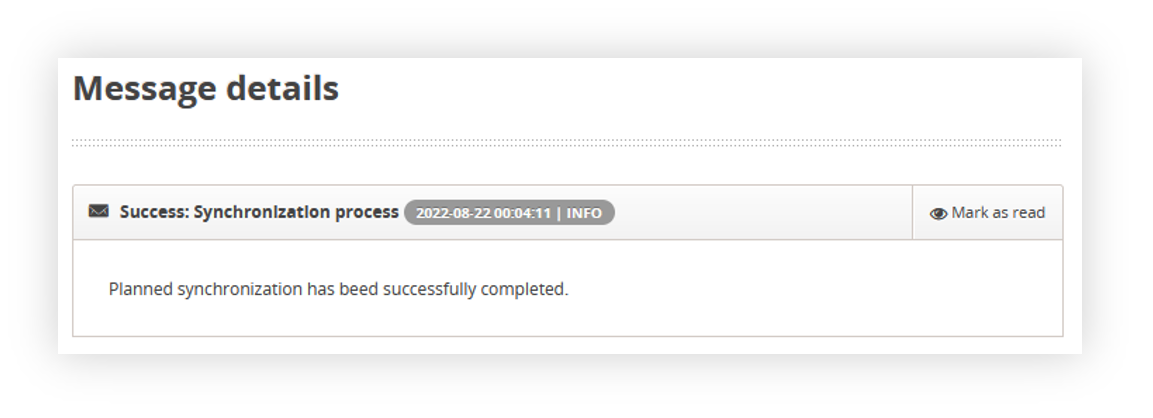 |
| *Visualization of the success: synchronization process message tab* |
| 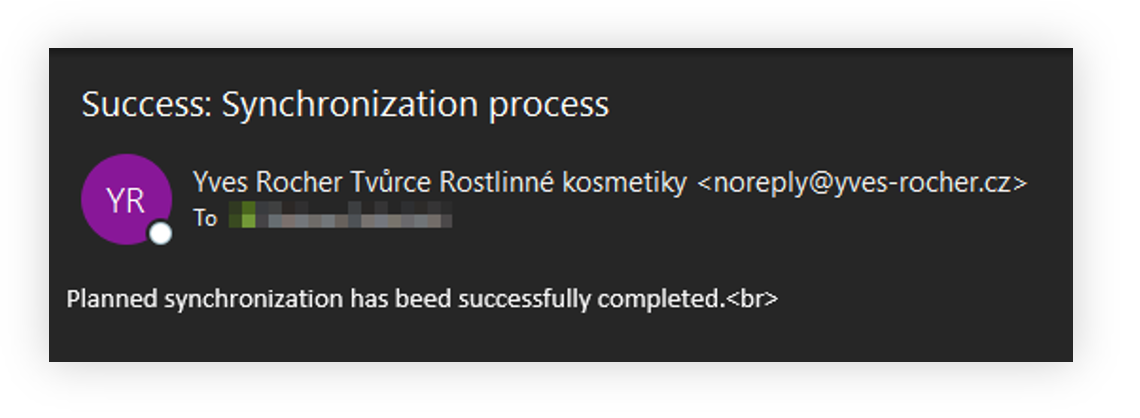 |
| *Visualization of the e-mail message* |