Banner notifications
Getting started
This article describes Banners / list tab in the admin panel, which will allow users to create header and side notifications on the website. Notifications work like CMS blocks using HTML + CSS code, and can be activated on specific altshops.
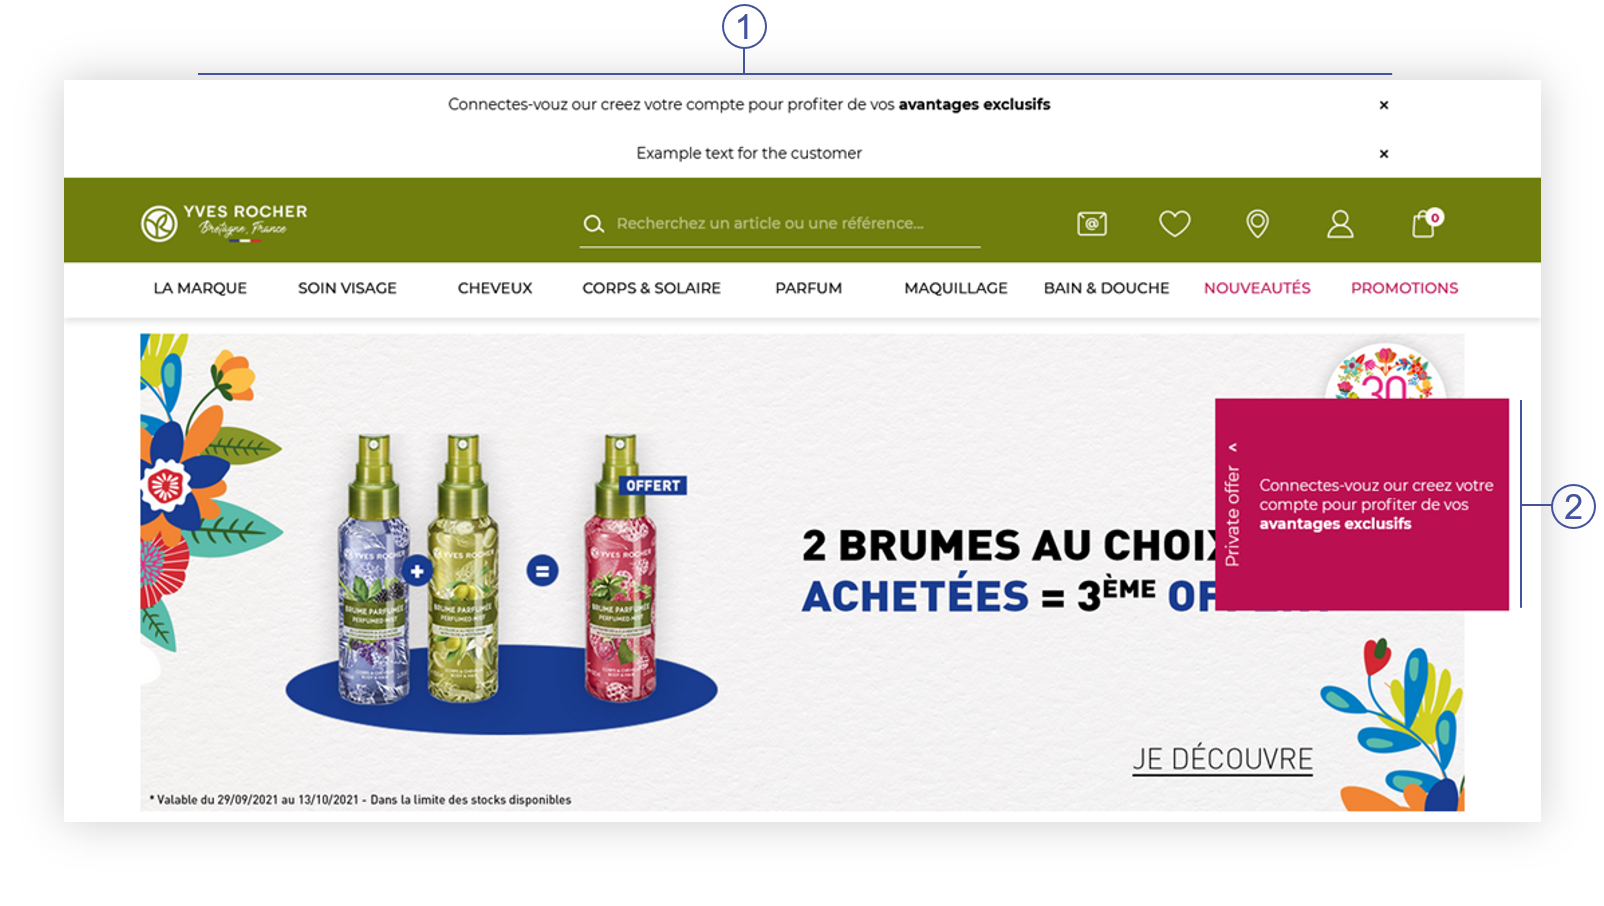
There can be more than one header banner (1) visible at the same time. When the top banner is closed by the client, it will be not visible to the customer for configured in the System / Settings amount of days.
 |
|
Visualization of the banners on the homepage (Desktop view) |
 |
|
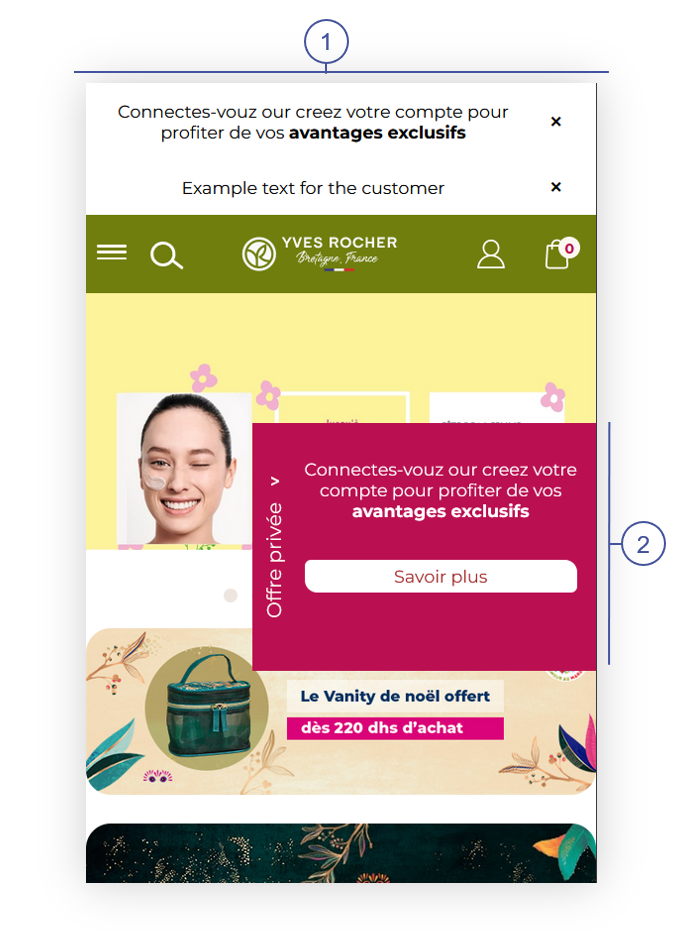
Visualization of the banners on the homepage (Mobile view) |
Table of contents:
 Configuring the banners
![]() RememberEvery created banner needs to be activated in the desired altshop. More about activating banners in the altshops can be found in the Banners / list - browsing and managing banners in altshop module article.
RememberEvery created banner needs to be activated in the desired altshop. More about activating banners in the altshops can be found in the Banners / list - browsing and managing banners in altshop module article.
 |
|
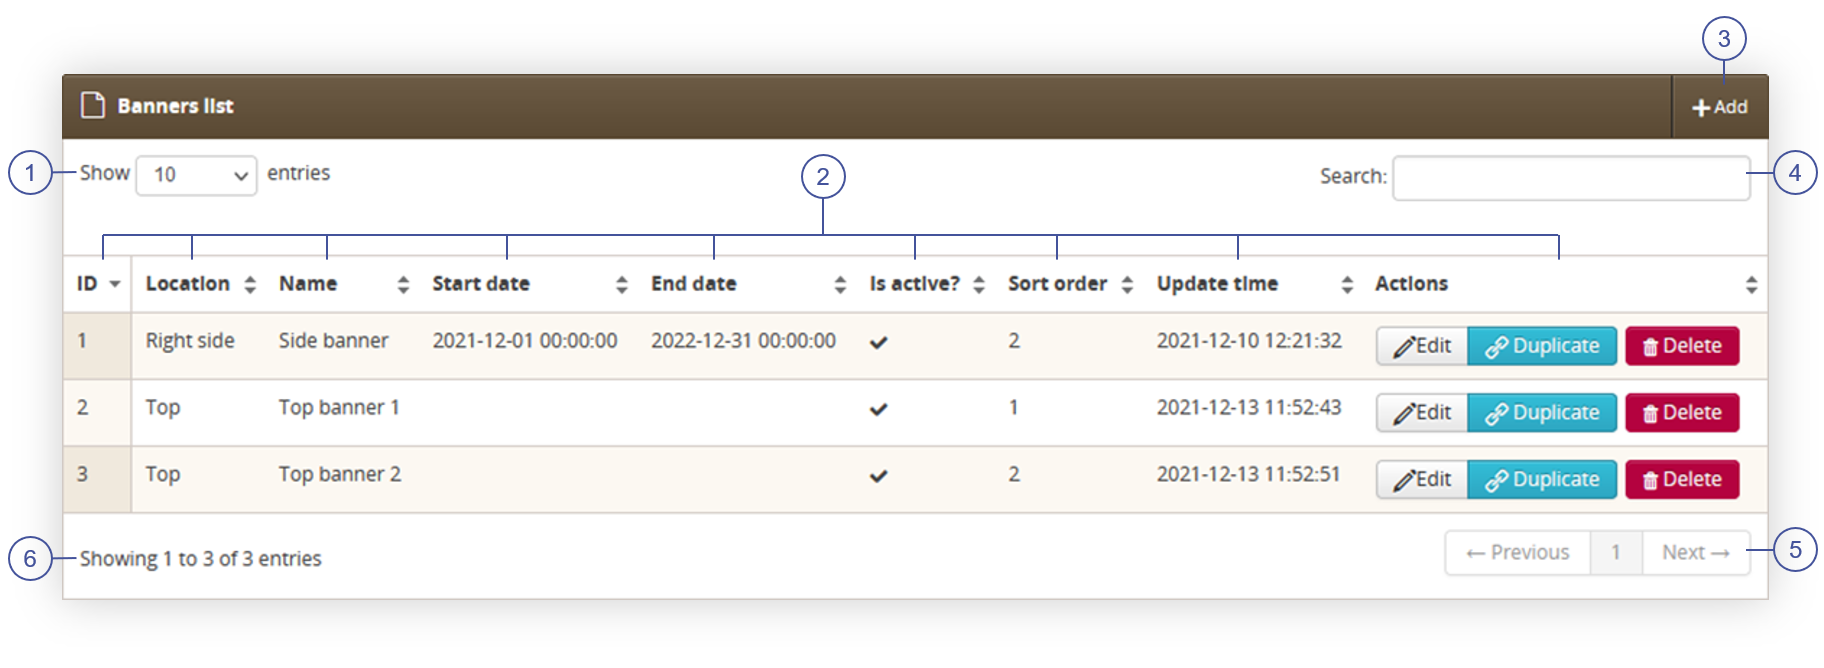
Visualization of the Banners / list tab |
In this tab we can also find columns (2), that can be sorted, with basic information regarding the banners:
- ID – Internal ID of the banner.
- Location – Top or Side location.
- Name – Internal name.
- Start and End date - Range of dates when the banner should be visible.
- Is Active? – Status if the banner is currently active.
- Sort order – Sort order of the banner.
- Update time – Last update time done by the user.
-
Actions - Three action buttons that allows to
- Edit selected banner. Editing is the same action as Add, but with already existing element. More about it can be read below.
- Duplicate selected banner. Duplicate creates exactly the same banner, but with a (x) at the end of the name (where X is a number).
- Delete selected banner.
In order to create new banner, we need to click on the Add (3) button
It is possible to search for a desired banner by their name using the search box (4), change the pages when the number of banners is by default bigger than 10 (5), and see how many banners are currently visible on the page out of them all (6).
 |
|
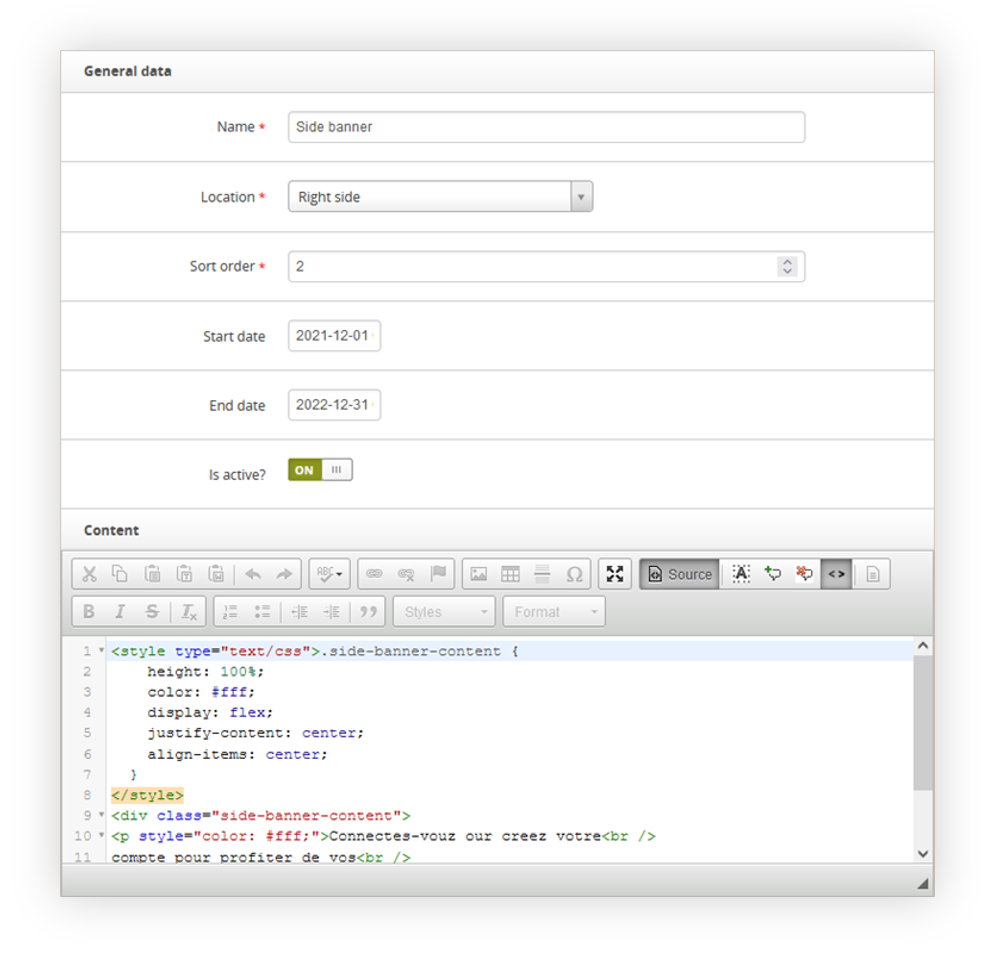
Visualization of the new banner creation |
When creating new banner, we can specify:
- Name – Internal name.
- Location – Top or Side location.
- Sort order – Sort order of the banner.
- Start and End date - Range of dates when the banner should be visible.
- Is Active? – Status if the banner is currently active.
In the content tab, we need to type HTML code in order for it to be visible on the website for the customer.
Example code for Top banner:
<div style="width: 100%">
<p style="text-align:center;">Connectes-vouz our creez votre compte pour profiter de vos <strong>avantages exclusifs</strong></p>
</div>
Example code for side banner:
<style type="text/css">.side-banner-content {
    height: 100%;
    color: #fff;
    display: flex;
    justify-content: center;
    align-items: center;
  }
</style>
<div class="side-banner-content">
<p style="color: #fff;">Connectes-vouz our creez votre<br />
compte pour profiter de vos<br />
<strong>avantages exclusifs</strong></p>
</div>
With the correctly filled necessary fields and code, we can save the banner.
System / settings configuration
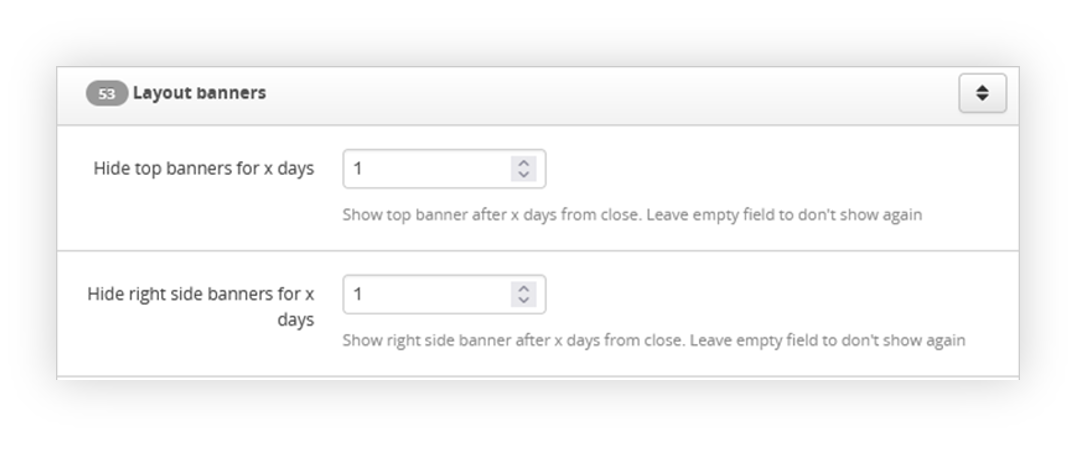 |
|
Visualization of the Layout banners tab in the System / settings |
There we can find two options, one for top banner and second one for side banners.
Customer perspective
Created and configured banners will be visible on the website. Top banners (1) and side banners (2) are visible on every page.
|
|
Visualization of the banners on the homepage (Desktop view) |
|
|
Visualization of the banners on the homepage (Mobile view) |