Synchronization
 Getting started
With the synchronization process, you are able to merge the contents of one environment with another without the need to make manual changes. The content you want to synchronize can be set at the process configuration phase, and the process itself is automatic.
![]() RememberSynchronization is the ongoing process of synchronizing data between two environments, and updating changes automatically between them to maintain consistency within them. It is a perfect way to prepare for example campaign on TEST environment and then synchronize all the changes in tho PROD environment at once.
RememberSynchronization is the ongoing process of synchronizing data between two environments, and updating changes automatically between them to maintain consistency within them. It is a perfect way to prepare for example campaign on TEST environment and then synchronize all the changes in tho PROD environment at once.
![]() NoteSynchronization process works only between PROD and TEST enviroments, and can be activated only from PROD environment. Data can only be synchronized one way at the time, for example: PROD > TEST, or TEST > PROD.
NoteSynchronization process works only between PROD and TEST enviroments, and can be activated only from PROD environment. Data can only be synchronized one way at the time, for example: PROD > TEST, or TEST > PROD.
Not all data is synchronized between the environments. Below you will find data and settings that are not synchronized:
- System settings (except mobile app JSONs described below)
- Translations
- Promotion codes
- Campaigns
- Titles
- Users
- Payment types
- Delivery types
- SEO settings
- Orders
- Reviews
- Beauty Advisor module
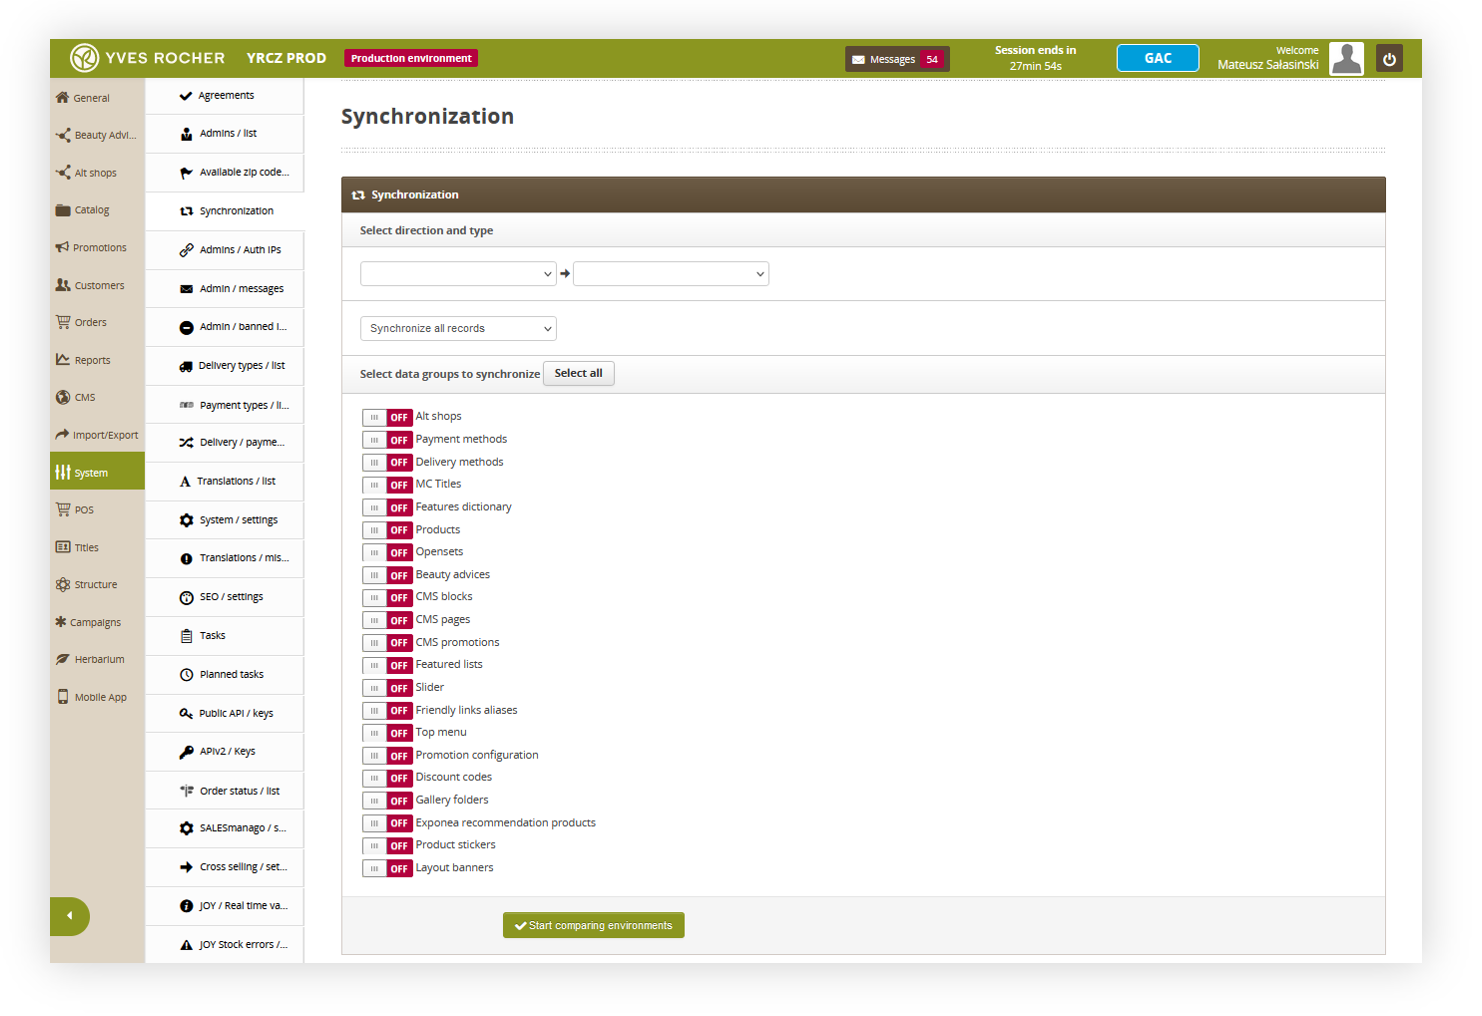
Synchronization module is located in:
System > Synchronization
 |
|
Visualization of the synchronization tab |
Table of contents:
- Description of the synchronization process
- Changes review - description of the view and possible actions
- Result of a synchronization
Description of the synchronization process
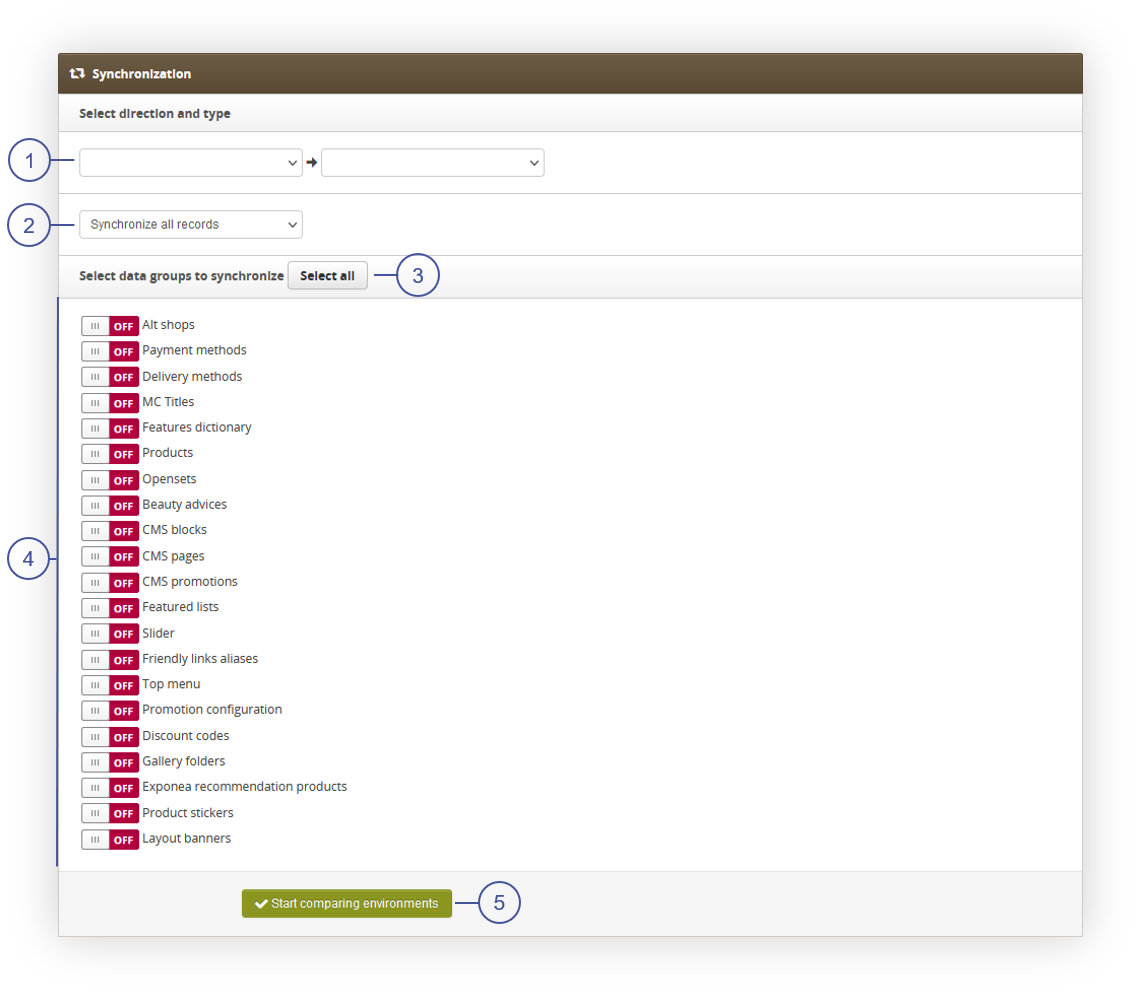
In the synchronization module, you can find many synchronization options described below
 |
|
Visualization of the synchronization tab |
(1) - Select the synchronization direction (PROD <--> TEST).
(2) - Choose whether you want to synchronize all records or only new ones.
- Synchronize all records - the application will take all records available in the database into account, including also modification of the current records in the environment from which the synchronization process is performed.
- Synchronize only new records - The application will only take newly created records into account in the environment from which the synchronization is performed.
![]() Example1. In the TEST environment, you have created a new CMS page.
Example1. In the TEST environment, you have created a new CMS page.
2. On the PROD environment, you have changed the graphics in the currently existing Slider
3. You use the synchronize function in the TEST > PROD direction
The result:
The application will only move a new CMS page to the production environment (point 1).
![]() Warning If you create a new CMS page on the TEST and PROD environments at the same time, and then synchronize the environments, there is a risk (if the status of the environments is not identical) that the synchronized pages will overwrite the currently existing pages on the environment in which the synchronization is performed because synchronization system is using the internal element IDs to fit the data together, and if the IDs are different that will result in conflict.
Warning If you create a new CMS page on the TEST and PROD environments at the same time, and then synchronize the environments, there is a risk (if the status of the environments is not identical) that the synchronized pages will overwrite the currently existing pages on the environment in which the synchronization is performed because synchronization system is using the internal element IDs to fit the data together, and if the IDs are different that will result in conflict.
(4) - switches defining which application modules should be involved in the synchronization process. After selecting the Gallery folders switch, and specifying the synchronization process direction, you will be able to choose which folders from the gallery should take part in the synchronization process. System config option allows to synchronize mobile app JSONs located in System > System / Settings > Integrations > Mobile app.
![]() RememberSelecting mobile app synchronization options forces to additionally synchronize Gallery folders, as mobile app has mandatory images. Please remember to synchronize gallery folders that are used for a mobile app graphics (in most cases it's a mobile_app folder).
RememberSelecting mobile app synchronization options forces to additionally synchronize Gallery folders, as mobile app has mandatory images. Please remember to synchronize gallery folders that are used for a mobile app graphics (in most cases it's a mobile_app folder).
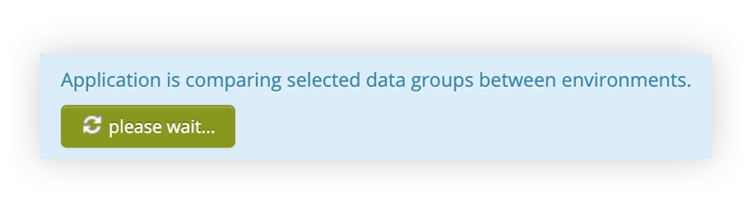
After selecting Start comparing environments (5) button, the process of environment comparison will start, and you’ll receive the following statement.
 |
|
Visualization of the e-mail message |
Changes review - description of the view and possible actions
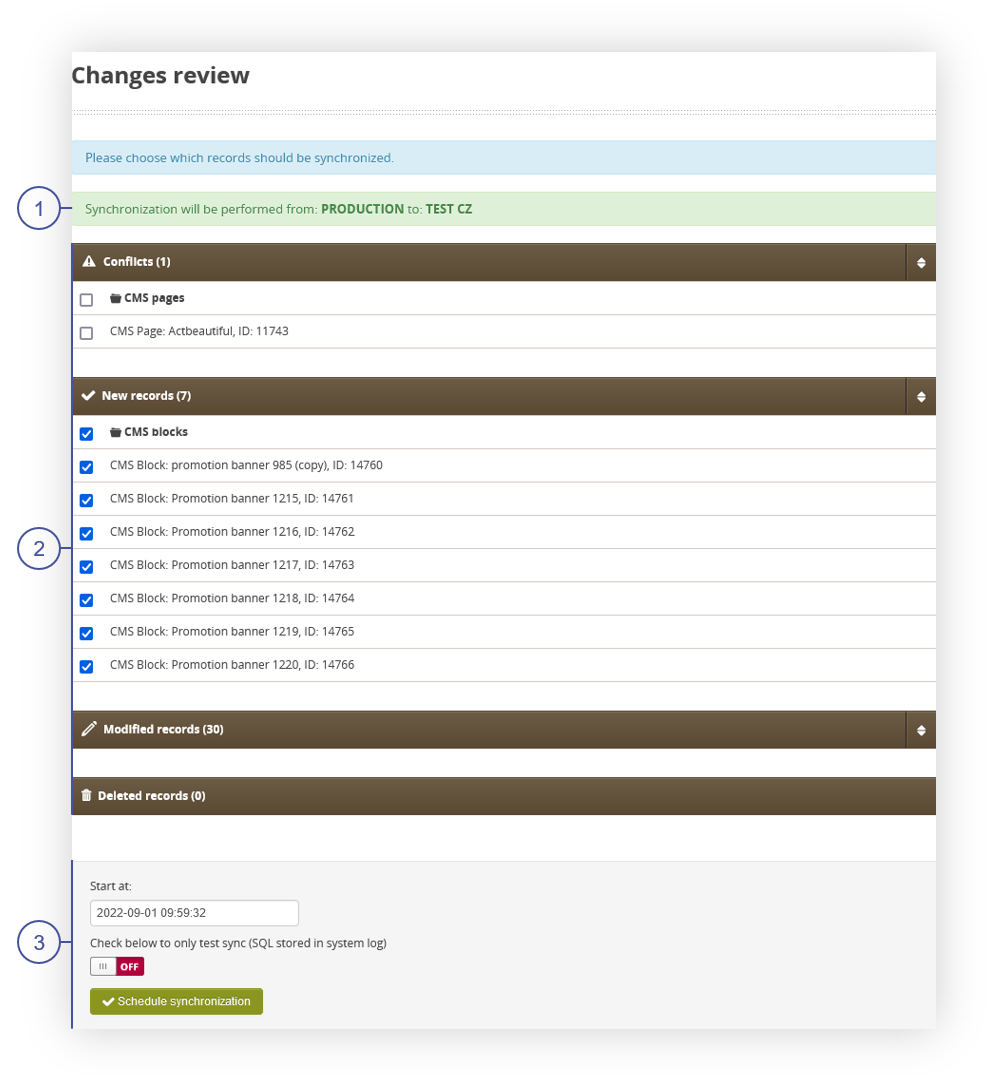
After the system compares the enviroments you will see all changes and conflicts that will occur. You can find description of all changes below
 |
|
Visualization of the changes review tab |
(1) - statement announcing in which direction the synchronization will be performed
(2) - tabs with the possibility to select the records you want to synchronize. In the above screenshot, an example of New records is attached. The selected record will be synchronized, an unmarked record will not be synchronized.
- Conflicts - list of conflicts that occurred during synchronization. Conflicts can happen when synchronized data doesn't match internal ID. In this case, the user will receive a conflict warning with an option to ignore the conflict and overwrite the data. To avoid conflicts, it is recommended to not create same content on both enviroments at the same time, as this is the most common reason of a conflict.
- New records - list of new records created on the source environment from which synchronization is performed to the target environment.
- Modified records - list of modified records on the environment from which synchronization is performed. It is a list of records that have matching ID between PROD and TEST environment, and by selecting them the synchronization will overwrite the content of the data.
- Deleted records - list of records deleted from the environment from which synchronization is performed. It is a list of records that doesn't exist on source environment, because they got deleted, but they still exist on a target enviroments. Same as with other actions, it is being compared using the IDs.
(3) - in this section you can schedule the date when the synchronization will be performed and choose the possibility of test import for a verification purposes (changes will not be saved).
![]() Warning After scheduling a synchronization, it is advised to not make any changes to the source and target enviroments until the synchronization is finished or canceled. This may cause unexpected behavior in the synchronization process.
Warning After scheduling a synchronization, it is advised to not make any changes to the source and target enviroments until the synchronization is finished or canceled. This may cause unexpected behavior in the synchronization process.
After setting up the settings, select the Schedule synchronization button to initiate the synchronization process.
Result of a synchronization
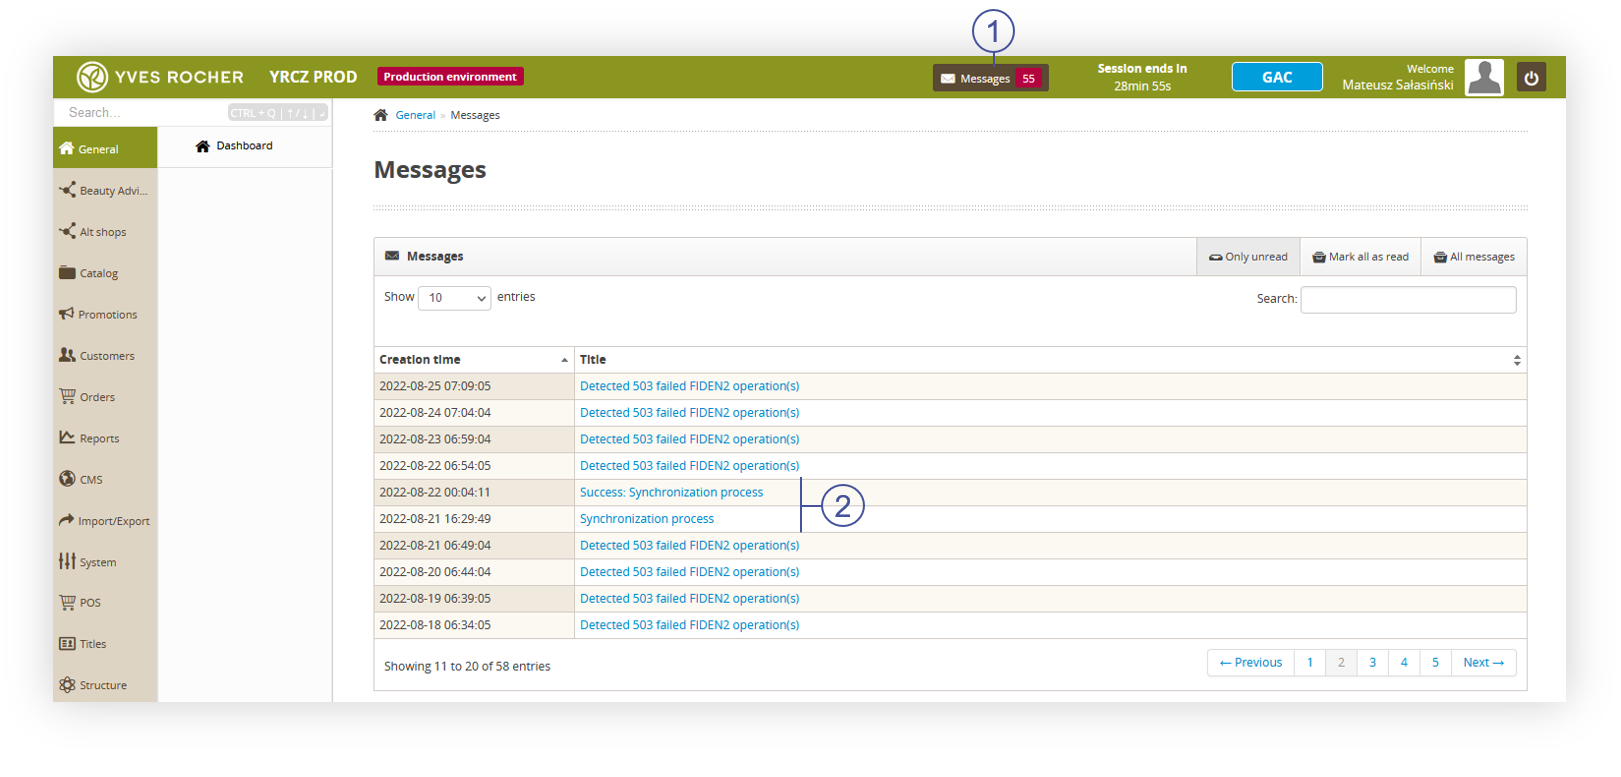
You can check the result of the synchronization by choosing the Messages (1) button.
 |
|
Visualization of the messages tab |
While synchronization is still in process, you will see Synchronization process message. When you click on the message you will see detailed information:
 |
|
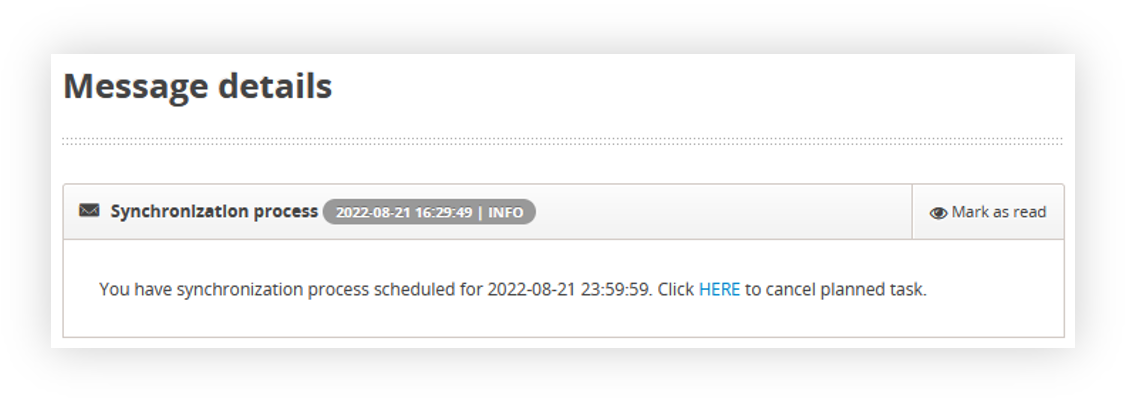
Visualization of the synchronization process message tab |
Synchronization process message will show you at what day and hour the synchronization is scheduled, and you will be able to cancel the synchronization by pressing the HERE text.
After the synchronization process is complete, you will see in the Messages tab a Success: Synchronization process or a FAILURE: Synchronization process message.
 |
|
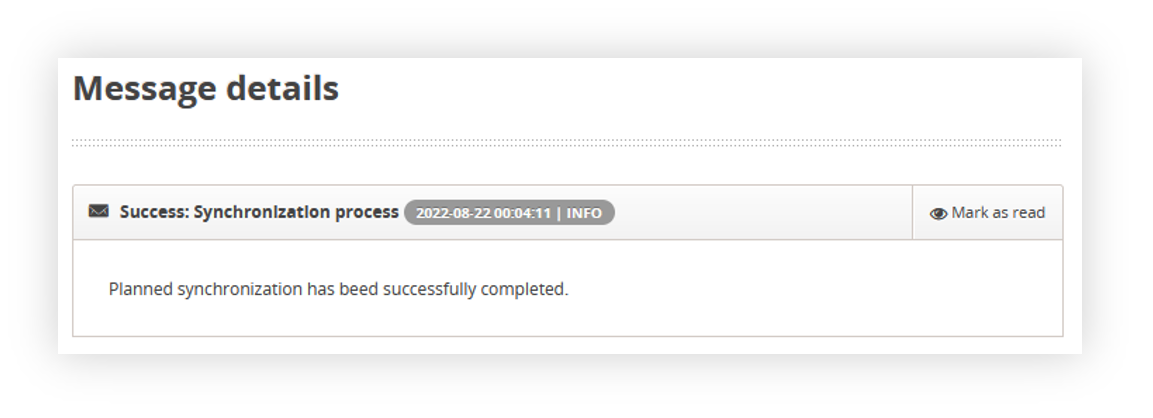
Visualization of the success: synchronization process message tab |
In the Success: Synchronization process message you will see an information, that your synchronization was completed successful, and planned changes has been applied.
FAILURE: Synchronization process message will show you an error pointing out why the synchronization was unsuccessful.
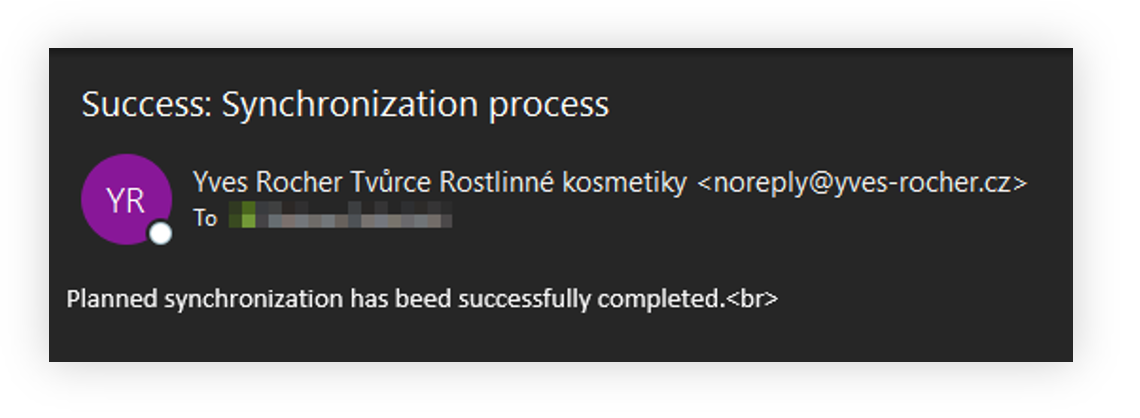
A user who has initiated the synchronization process will additionally receive an email message on successful synchronization.
 |
|
Visualization of the e-mail message |